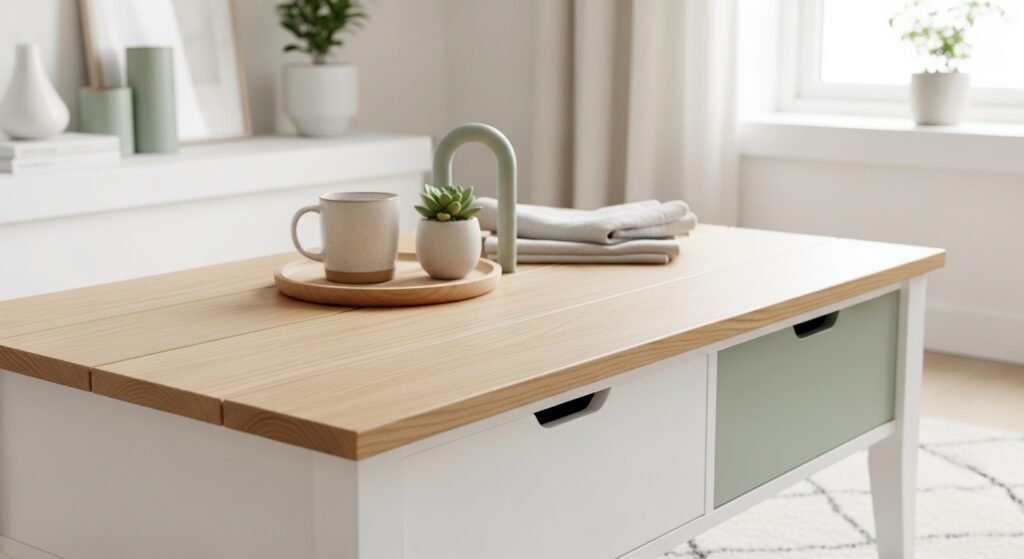
You want a functional centerpiece that fits tight living rooms, hides clutter, and still looks Pinterest-ready. A DIY coffee table with storage does exactly that — and you can make one in an easy, one-afternoon build if you plan simply. This guide shows you how to cut, assemble, finish, and style a compact table that’s both practical and stylish.
If you want speed and reliability, a good cordless drill makes hole-drilling and screw-driving quick. For crisp joints on pocket screws, a pocket hole jig keeps everything square and beginner-friendly. Read on for measurements, drying times, and pro tips.
What you'll learn: a compact cutting list, assembly steps with exact dimensions for a 36" x 20" x 18" table, options for drawers vs. baskets, finishing tips, and styling ideas for small living rooms.
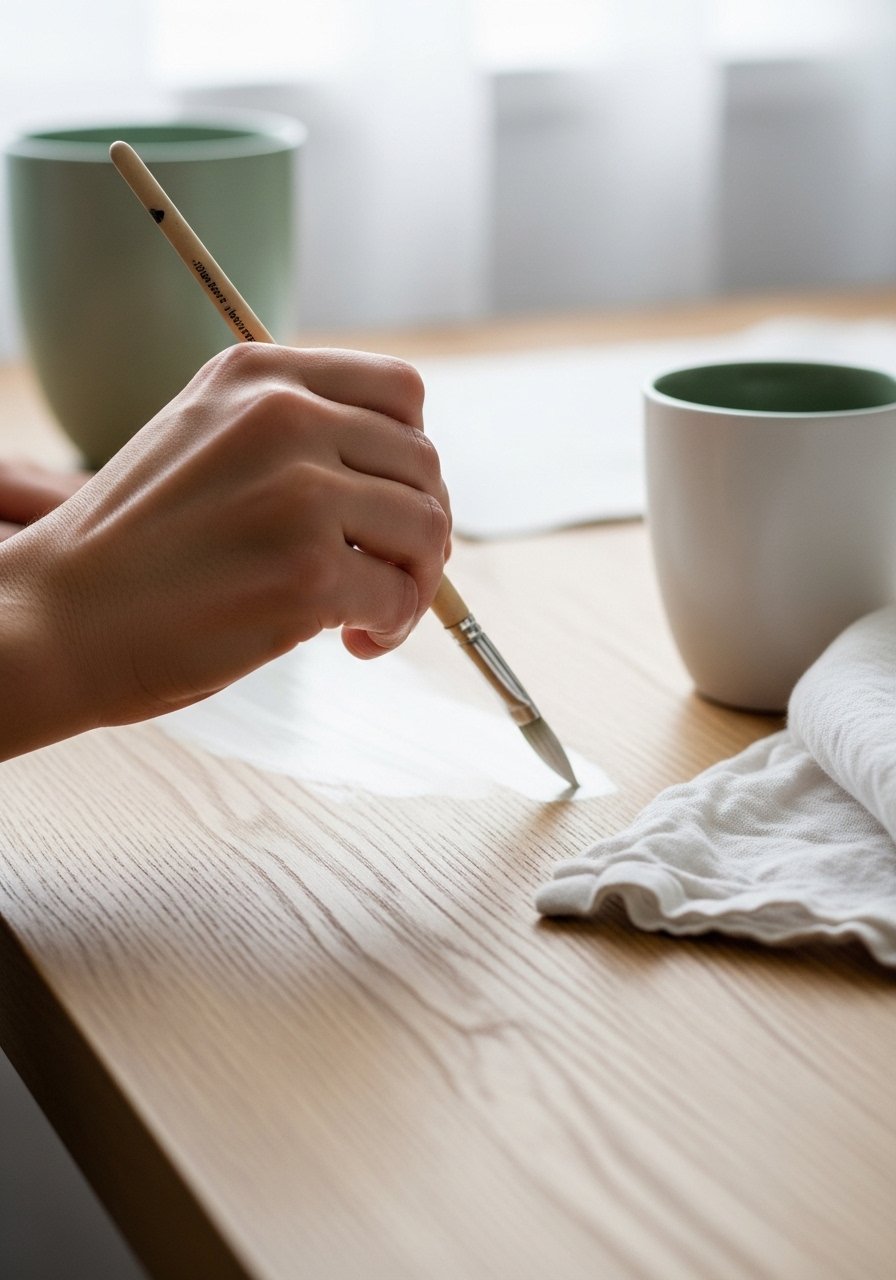
Gathering and Prepping Materials (easy, beginner-friendly)
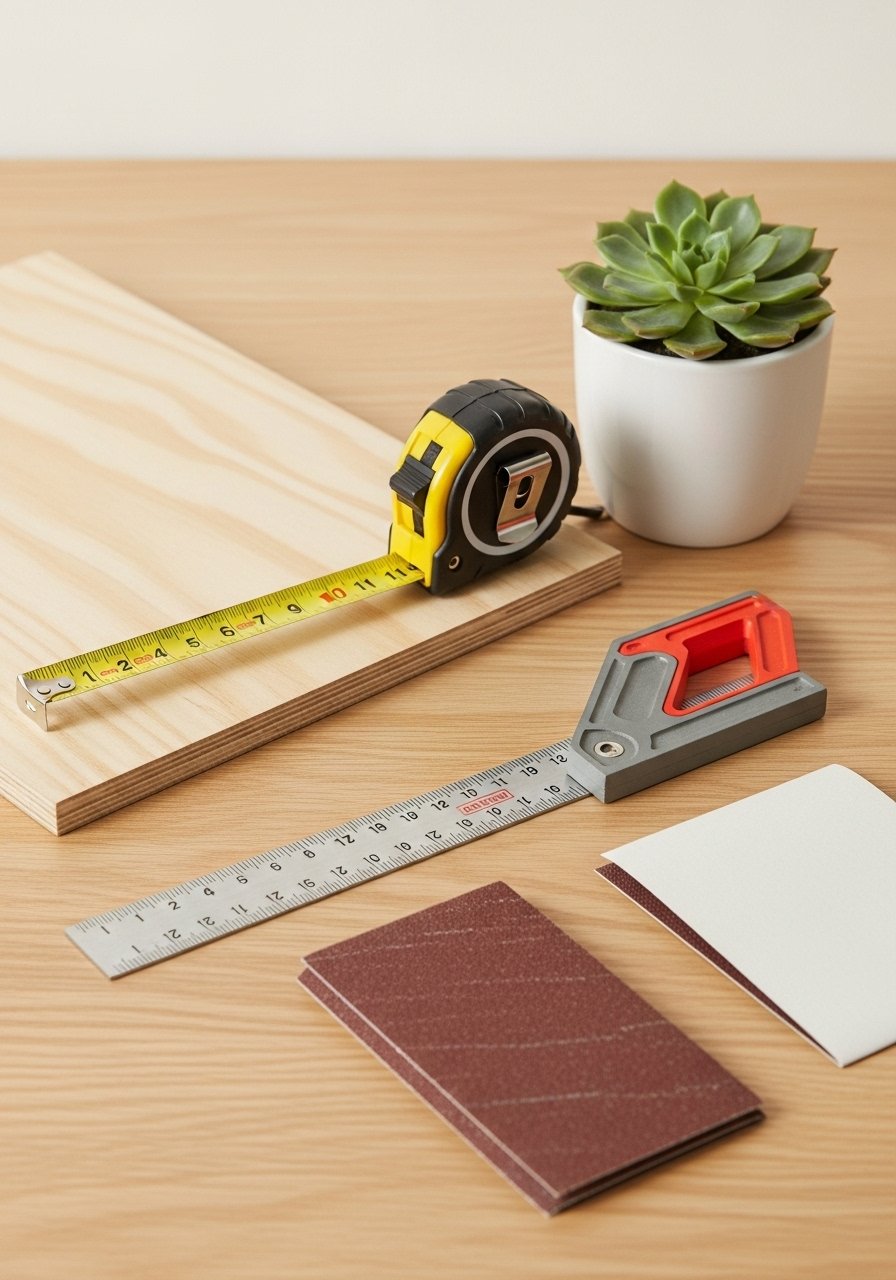
Start with a single 3/4" plywood sheet for the top and box sides — enough for a 36" x 20" top, two 18" x 20" side panels, and interior shelf pieces. Measure twice and mark once.
- Cut list (finished table 36" L x 20" W x 18" H):
- Top: 36" x 20"
- Two sides: 18" x 20"
- Front/back rails: 36" x 3.5"
- Shelf: 32" x 18" (adjust for thickness)
- Handy tools: a reliable measuring tape and a speed square speed up layout.
Lightly sand cut edges with a sandpaper set. Wipe dust with a tack cloth before assembly.
Cut and Assemble the Frame (one-afternoon build)
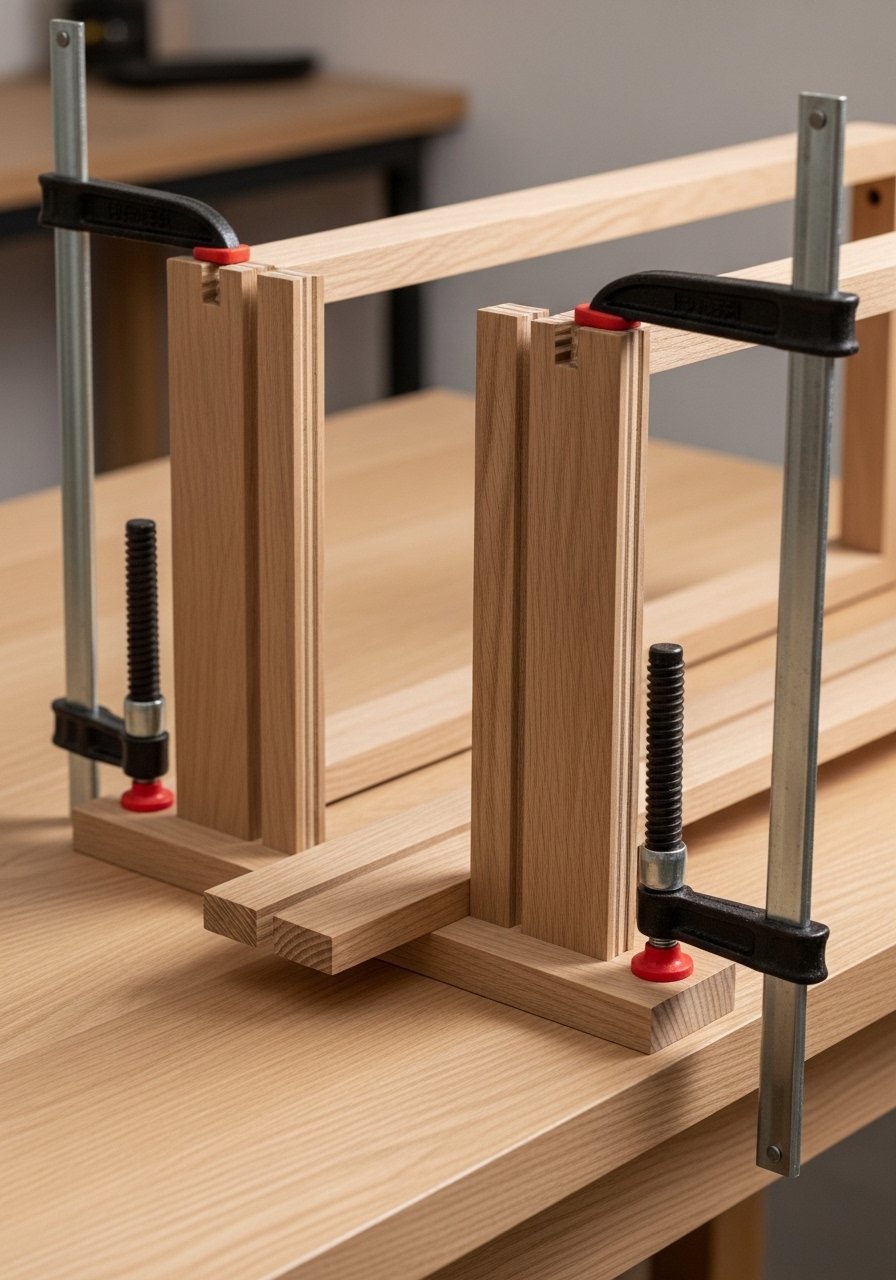
Assemble a simple box frame using pocket holes or butt joints reinforced with glue and screws.
- Attach front/back rails to side panels so the inner depth is 32".
- Fasten with wood glue and #8 x 1-1/4" wood screws, or use pocket holes with your pocket hole jig.
- Place the top on and secure from underneath.
Pro tips:
- Pre-drill screw holes if you don’t use a pocket jig.
- Use wood glue for stronger seams and clamp for 30–45 minutes until tacky; full cure is 24 hours.
- Keep a cordless drill handy for quick adjustments.
Add Storage — Drawers or Open Shelf (budget or upcycled)
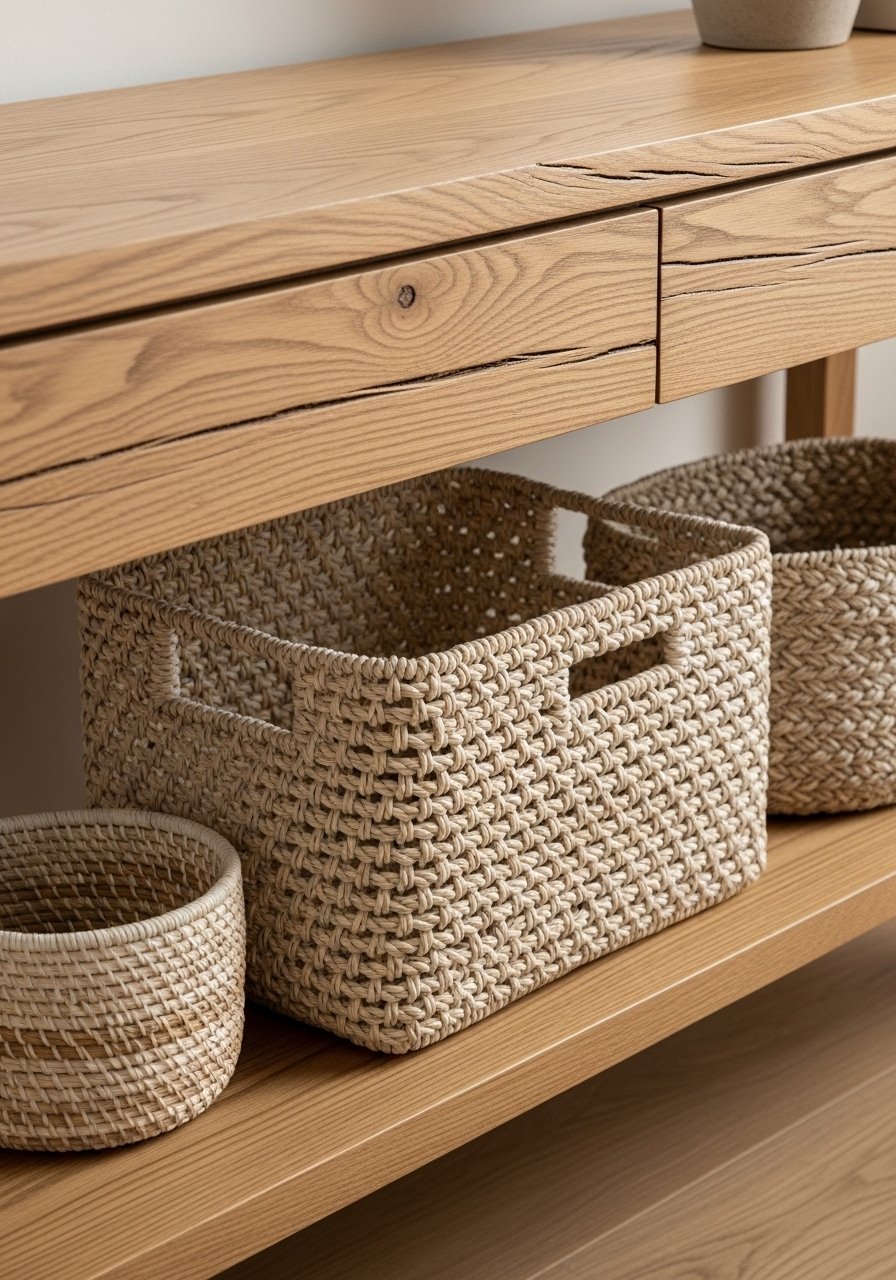
Decide between built-in drawers or a roomy open shelf with baskets.
- Open shelf (fast): Cut a shelf to 32" x 18", support with cleats, then slide in woven storage baskets for easy access.
- Drawers (polished): Install a pair of shallow drawers using basic drawer slides and a simple plywood box.
- Option: add locking casters for mobility in tight rooms (attach to underside).
Tips:
- Leave 1/8" clearance on each side of drawers.
- Test-fit baskets or drawer boxes before final fastening.
Finish and Style for Small Living Rooms (pin-worthy)
A light finish keeps the room airy and visually reduces bulk.
- Sand to 120–150 grit, then prime or apply thin coats.
- Paint option: a soft neutral using chalk paint for a matte, cozy look.
- Protect with two coats of water-based polyurethane; dry to touch in 2–4 hours, recoat after 4–6 hours, full cure in 24–48 hours.
- Apply paint with a foam brush set for smooth coverage.
Finish touches:
- Add furniture felt pads to protect floors.
- Keep decor minimal: a small tray, a book stack, and a plant.
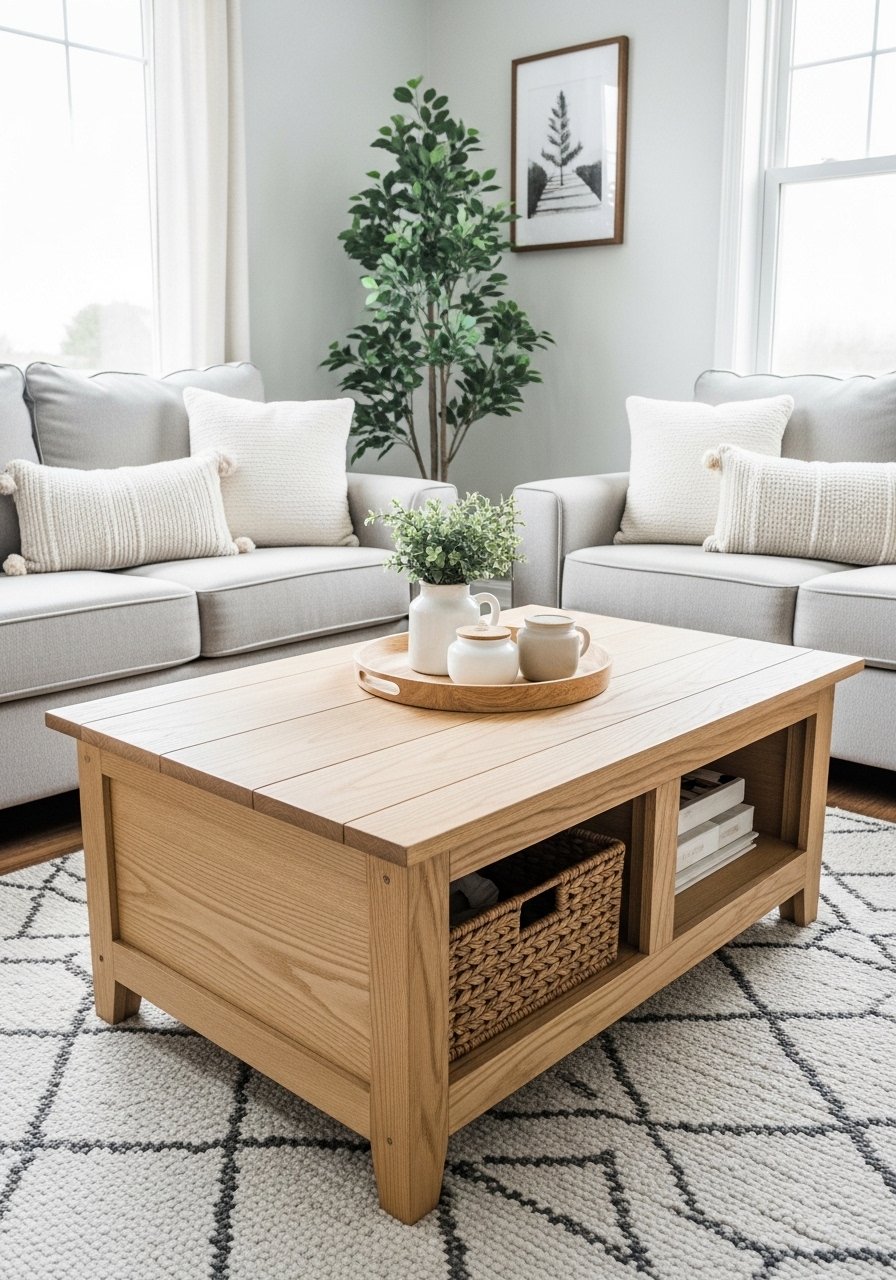
You just built a compact, stylish DIY coffee table with storage that fits small living rooms and hides clutter. Save this guide for your next one-afternoon project and pin it for later inspiration. Want to try drawers or baskets first? Tell me which style you’ll make — and if you don’t already have one, a reliable cordless drill will be the tool you reach for most. Ready to make it? Let’s go!


