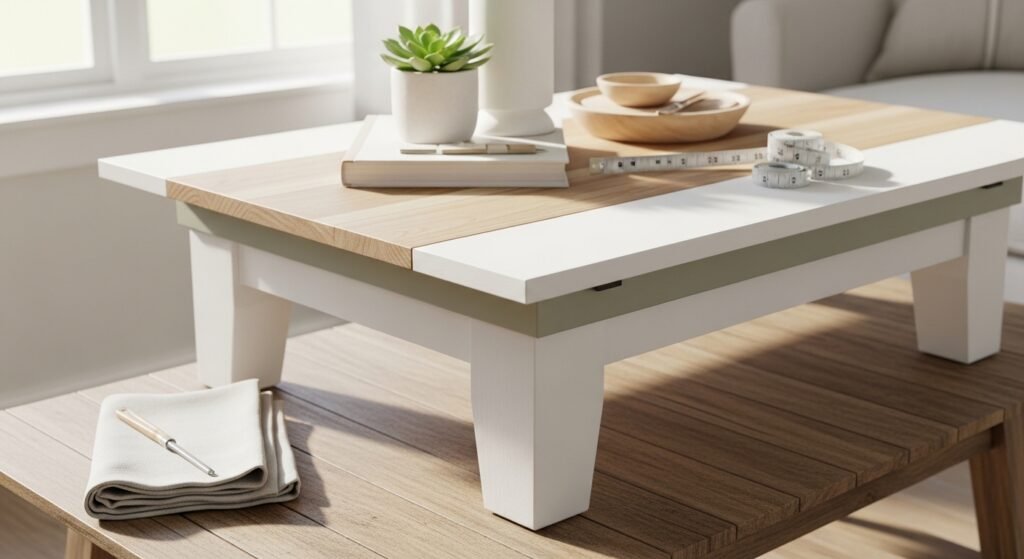
Staring at expensive store prices for a coffee table? You can build a sturdy, stylish DIY coffee table that looks custom and costs a fraction of retail. A simple plan—using a pre-cut wooden tabletop and stackable crate bases—keeps the build beginner-friendly and doable in an afternoon or two. Read on and you'll learn how to size, assemble, and finish a durable DIY coffee table that fits your room.
The secret supplies that speed this project are a solid wooden tabletop blank and a pair of sturdy wooden crate bases. These items cut out complicated joinery, so you can focus on sanding, sealing, and styling.
You'll get exact measurements, step-by-step assembly, realistic drying times (yes—resin needs patience), and quick fixes for common problems. Pin this guide and start gathering supplies.
Gathering and Prepping Your Materials (Beginner-friendly, one-afternoon prep)
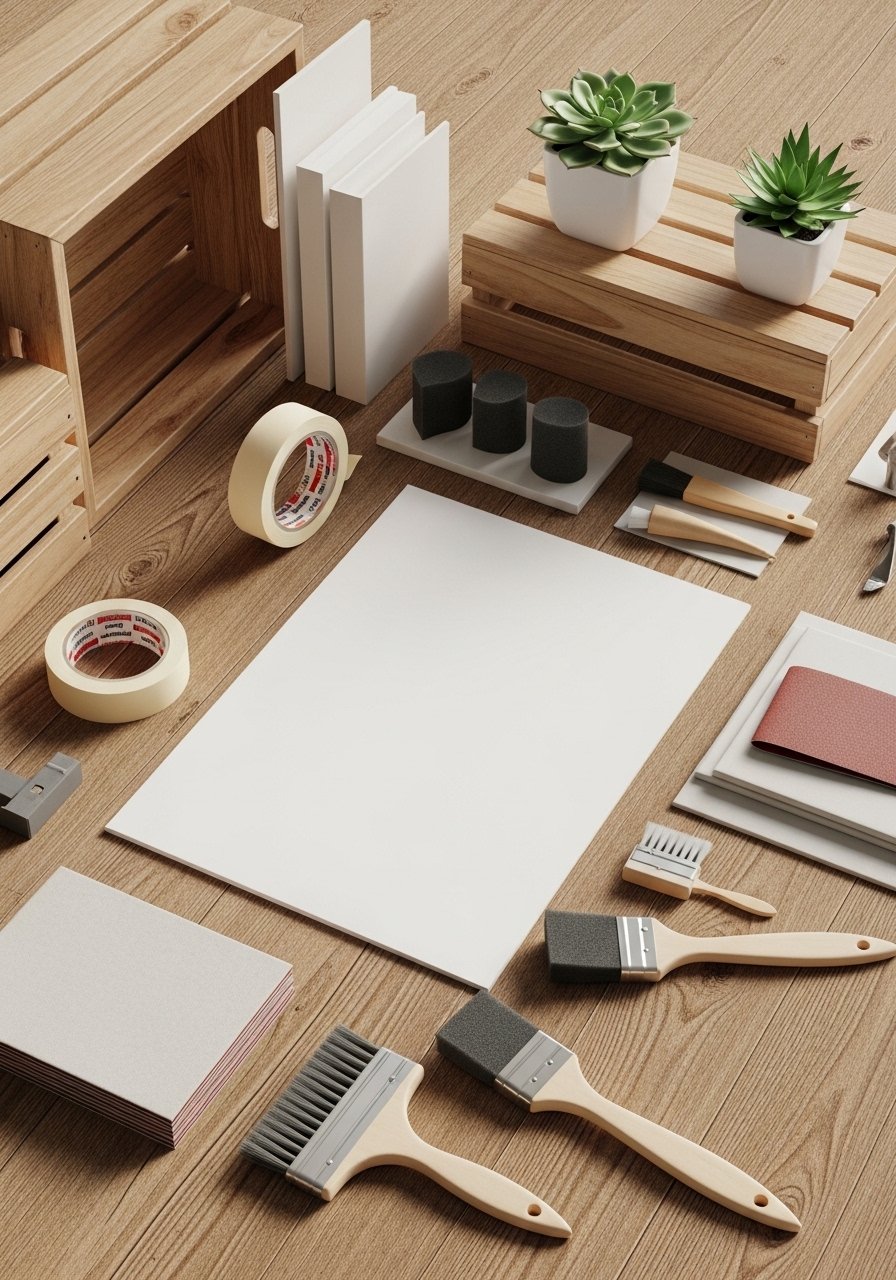
Before you start, pick a tabletop size. A common coffee table is 36" x 20"; adjust for your room. If you bought a pre-cut blank, check the underside for defects and sand any rough edges. For sanding, work from 80–120 grit (if you need to remove bumps) up to 180–220 grit for a smooth finish.
Helpful buys:
- Keep a sandpaper assortment set on hand for each grit.
- Protect edges with low-tack painter's tape while you sand or paint.
Tips:
- Test-fit the tabletop on the crates to confirm height—standard coffee table height is 15–18 inches.
- Label faces with a pencil so you maintain the same grain orientation when finishing.
Building the Base and Securing the Top (Simple assembly, secure results)
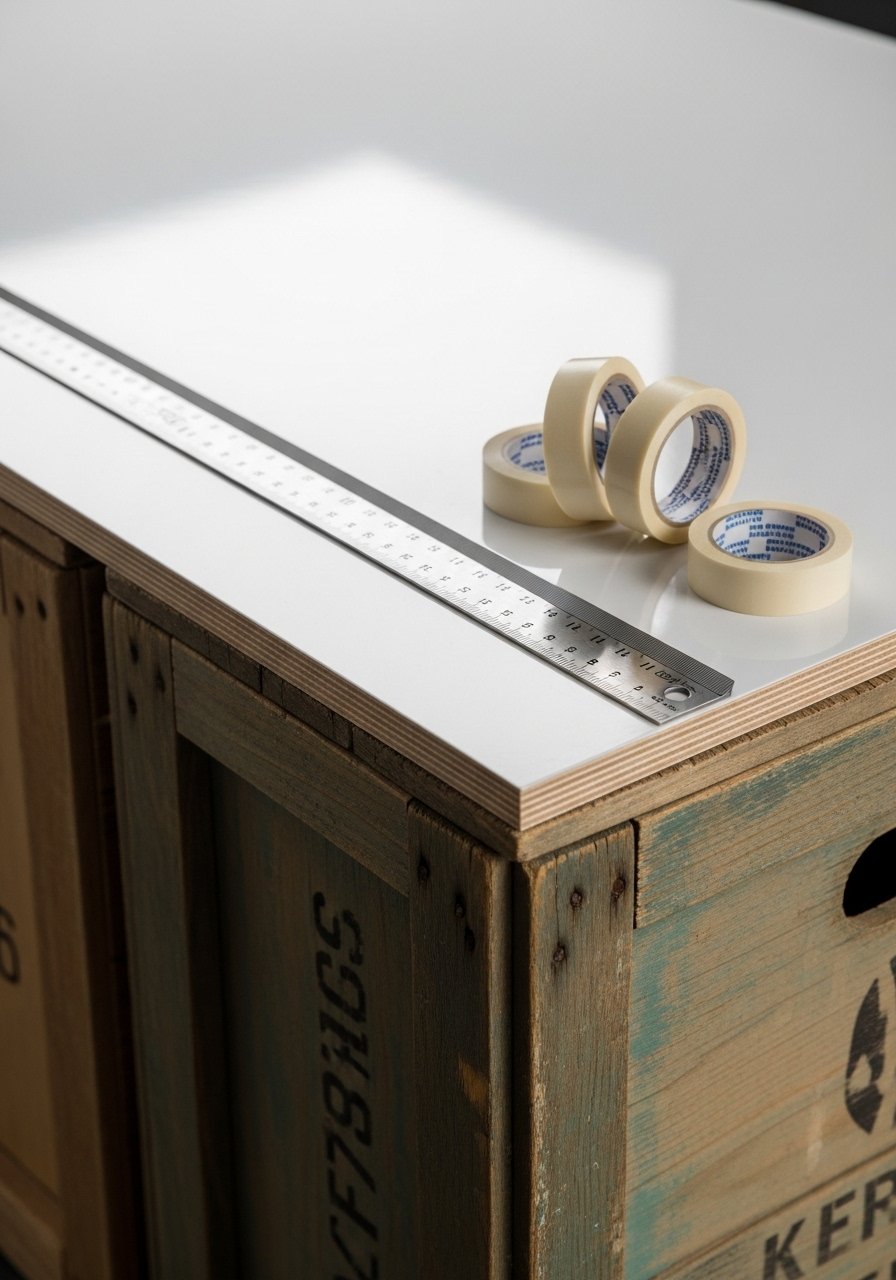
This build avoids power tools: you’ll attach the top to crate bases with strong adhesive and double-sided tape for positioning.
Steps:
- Position crates about 24–26 inches apart center-to-center for stability.
- Use strips of double-sided tape to hold the tabletop while adhesive cures.
- Apply a bead of high-strength adhesive (E6000-style glue if you have it) around the crate tops and press the tabletop down.
Quick assembly tips:
- Press and weight the top with books for at least 4–6 hours before moving.
- Add a few wood screws from underneath if you have basic tools—this makes it extra sturdy.
For measuring and squaring, a clear ruler or measuring stick helps keep lines straight.
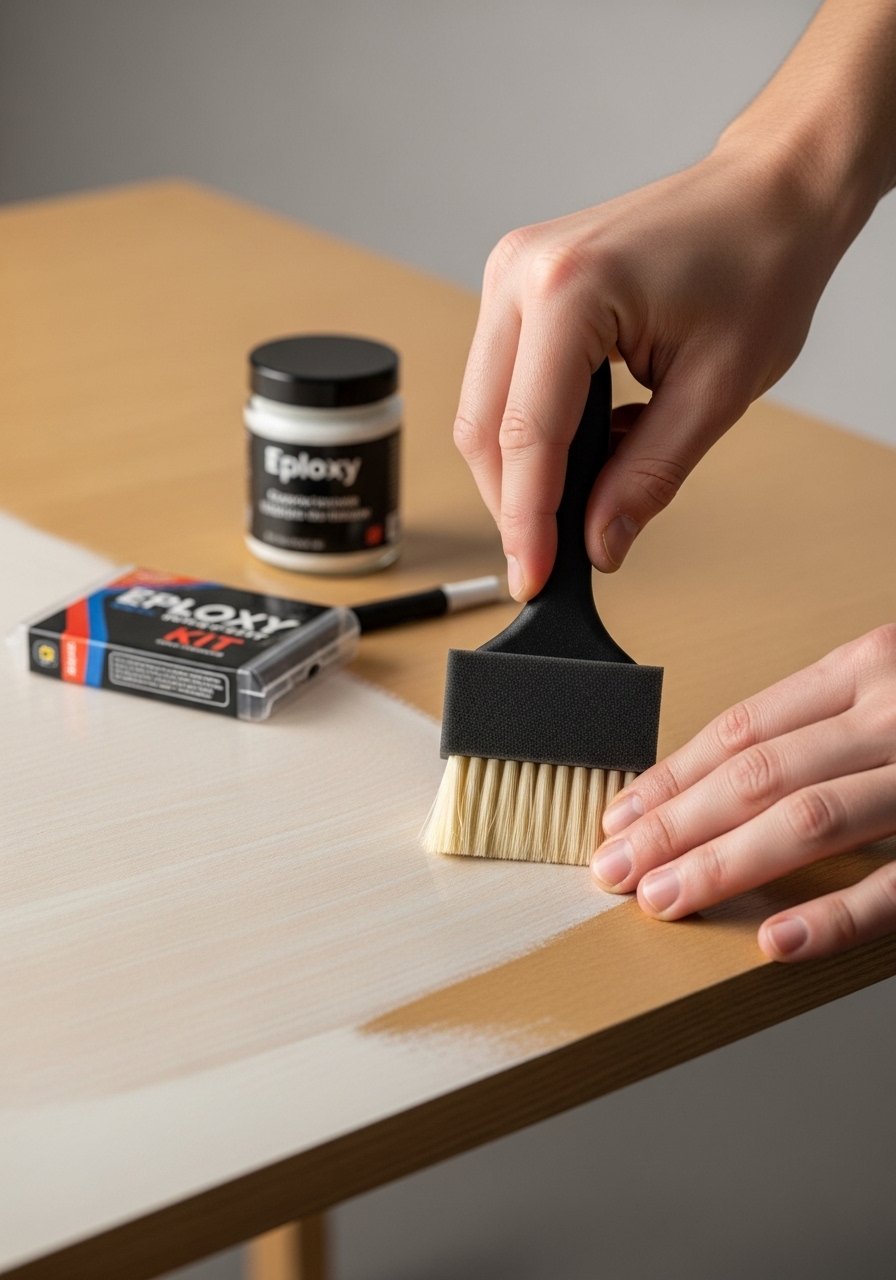
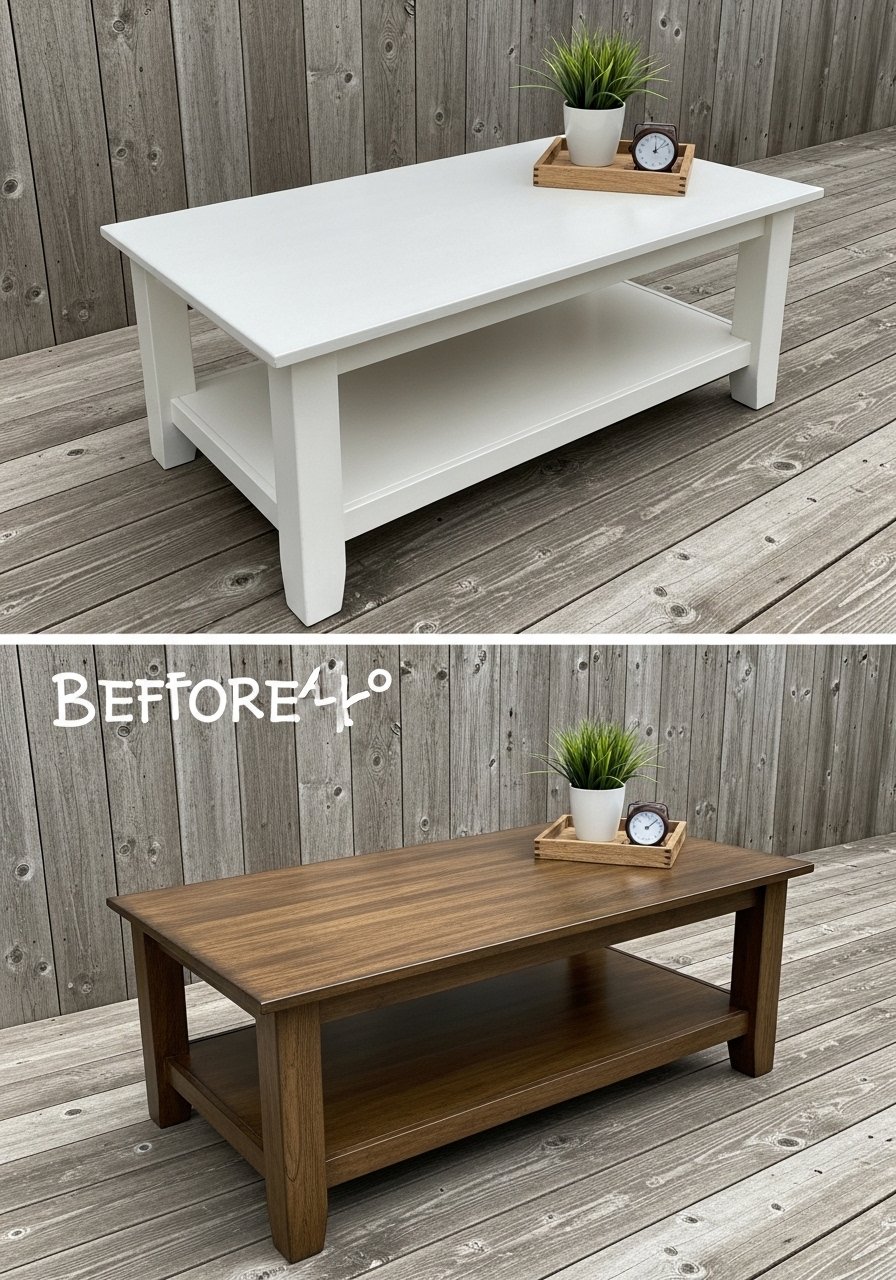
Getting the Finish Right (Sealing, staining, and resin options)
Your finish decides longevity. Options:
- For a natural look, use stain or water-based wood finish applied with a foam brush set. Apply thin coats, wipe excess, and let dry 2–4 hours between coats.
- For a glossy, durable top, pour an epoxy resin kit. Epoxy is self-leveling and resists water and rings.
Resin quick facts:
- Mix resin precisely, pour slowly, and watch for bubbles.
- Use a heat gun on low about 30–60 seconds after pouring to pop bubbles.
- Resin becomes tack-free in 12–24 hours, full cure in 72 hours.
If you prefer color, a small acrylic paint set lets you paint the crate bases for contrast. Seal painted surfaces with a clear topcoat for durability.
Styling, Storing, and Quick Troubleshooting
Styling ideas:
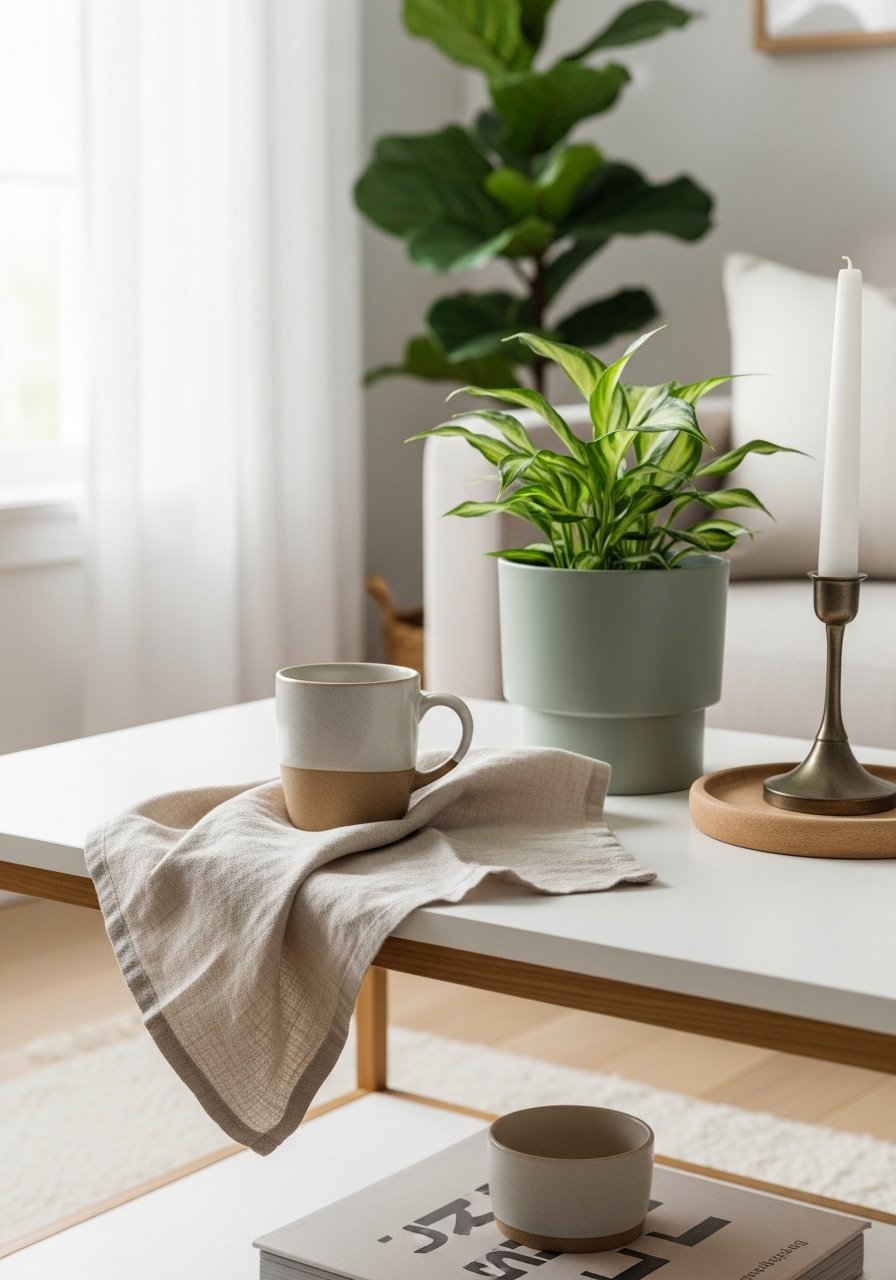
- Add a tray to corral remotes and candles—keeps surfaces tidy.
- Slide baskets into crates for storage.
Troubleshooting:
- If the tabletop shifts, add a strip of double-sided tape at each corner underneath.
- Small epoxy drips sand away with 220 grit after full cure; touch up and re-seal.
- Keep a set of clear zip pouches for screws, glue, and small scraps during the build.
Use stackable craft organizer trays to keep your workspace neat and speed assembly.
You just built a budget-friendly, stylish DIY coffee table that’s sturdy enough for daily use and pretty enough to pin. Save this guide and gather the few key supplies, especially that wooden tabletop blank, and you’ll be sipping coffee at your custom piece in a weekend. Pin this guide for your next craft afternoon and share with a friend—which finish will you try first?


