You love small, colorful projects that finish fast — but knotty cords, slipped beads, or weak attachments can ruin a pretty keychain. If you’ve ever started a DIY beaded keychain and ended up with beads sliding off or a keyring that won’t hold up, this beginner-friendly guide fixes that in minutes.
You’ll learn a quick, sturdy method for making a DIY beaded keychain that’s colorful and ready to use in about 20–30 minutes. I recommend starting with a soft 3mm cord for easy knotting and an assorted wooden bead pack for instant boho color — try 3mm cotton macramé cord and a handy assorted wooden beads pack to get the look pictured.
By the end you’ll know how to prep your cord, string beads without fuss, secure the ends so nothing slips, and finish a polished keychain that survives daily use.
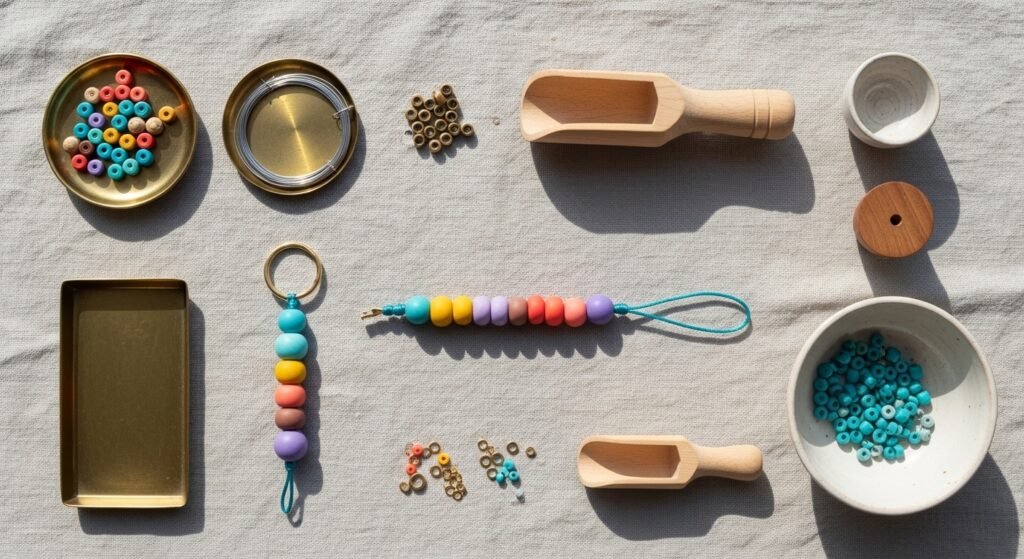
Gather and prep materials — quick, budget-friendly setup
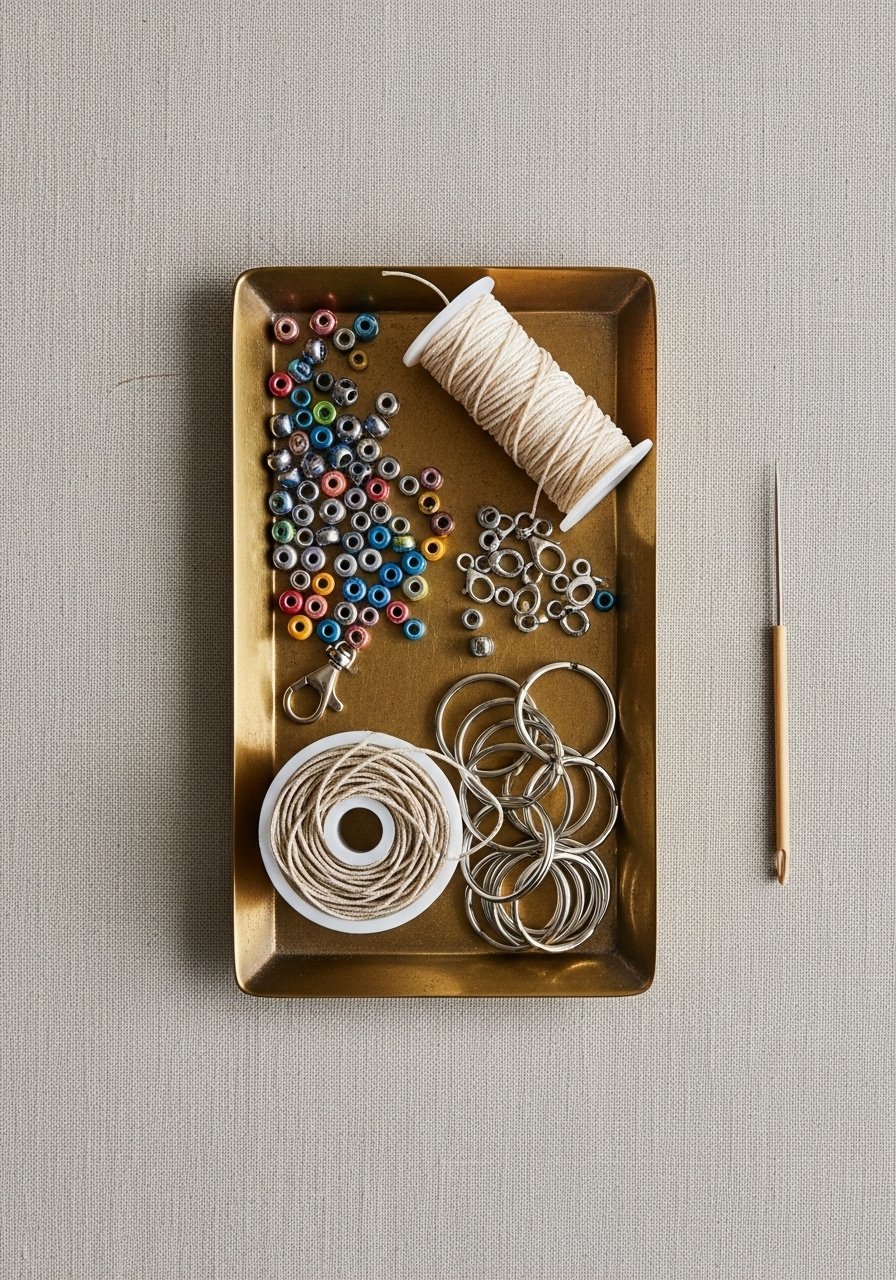
Start with the essentials and pre-cut everything before you begin. For a 4–5 inch finished keychain, cut about 18 inches of cord to allow for knots and finishing. Use a smooth beading surface so tiny beads don’t roll away.
- Threading helps: soften the cord ends with a little water or use a beading needle set for seed beads.
- Keep hardware ready: pick sturdy metal split key rings in a 25–30 mm size for easy attachment.
- Store extras in a craft organizer tray so you can batch-make several in one sitting.
Tip: Pre-sorting beads into bowls by color saves time and keeps the process one-afternoon friendly.
Stringing and core technique — easy, no-sew steps
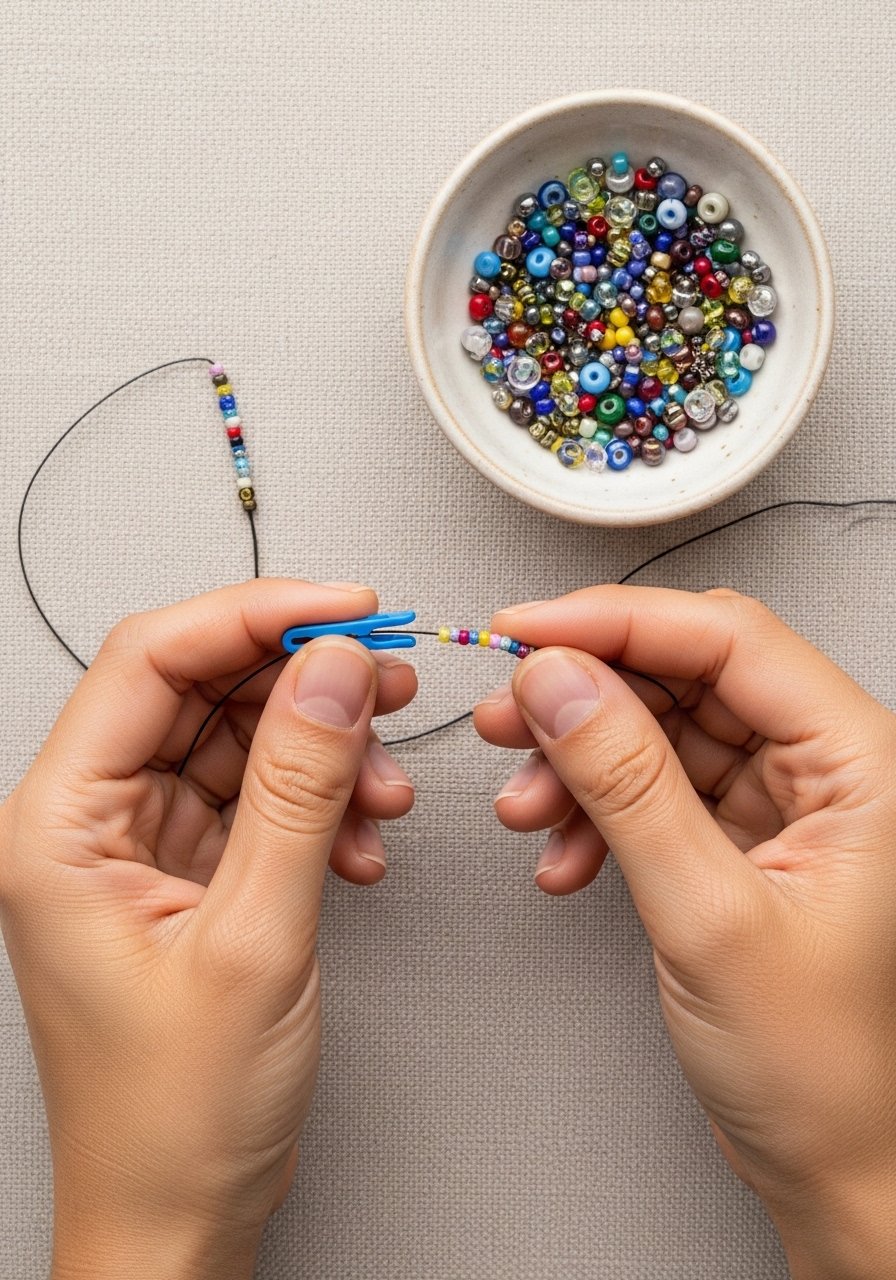
Stringing is the most satisfying part. Use these quick steps for a secure pattern that won’t twist.
- Fold the cord in half and loop the midpoint through the split ring, creating a lark’s head knot so the beads hang centered.
- Slide beads onto both strands or one strand depending on your design; alternate wood and colored beads for contrast.
- For small seed beads, use nylon beading thread or a needle to pull them on easily.
Pro tips:
- Keep bead spacing tight to prevent wobble.
- If beads won’t sit flush, add small spacer beads from your assorted wooden beads pack.
Secure the ends and make it sturdy — beginner-friendly finishing

A loose knot is the usual culprit when a keychain fails. Use one of these finishing methods for long-lasting hold.
-
Crimp method (recommended for a sleek finish):
- Thread a crimp bead onto both strands and slide it to the knot area.
- Squeeze with crimping pliers and crimp beads until snug.
- Trim ends close.
-
Glue backup (for wooden beads or slippery cord):
- Add a tiny drop of E6000 craft glue to knots and allow at least 24 hours to cure for a strong bond.
Also use a small jewelry pliers set to flatten split rings and ensure a tight attachment. Warning: don’t over-glue — excess glue looks messy and can harden beads.
Display, gift, and store — pin-worthy finishing touches
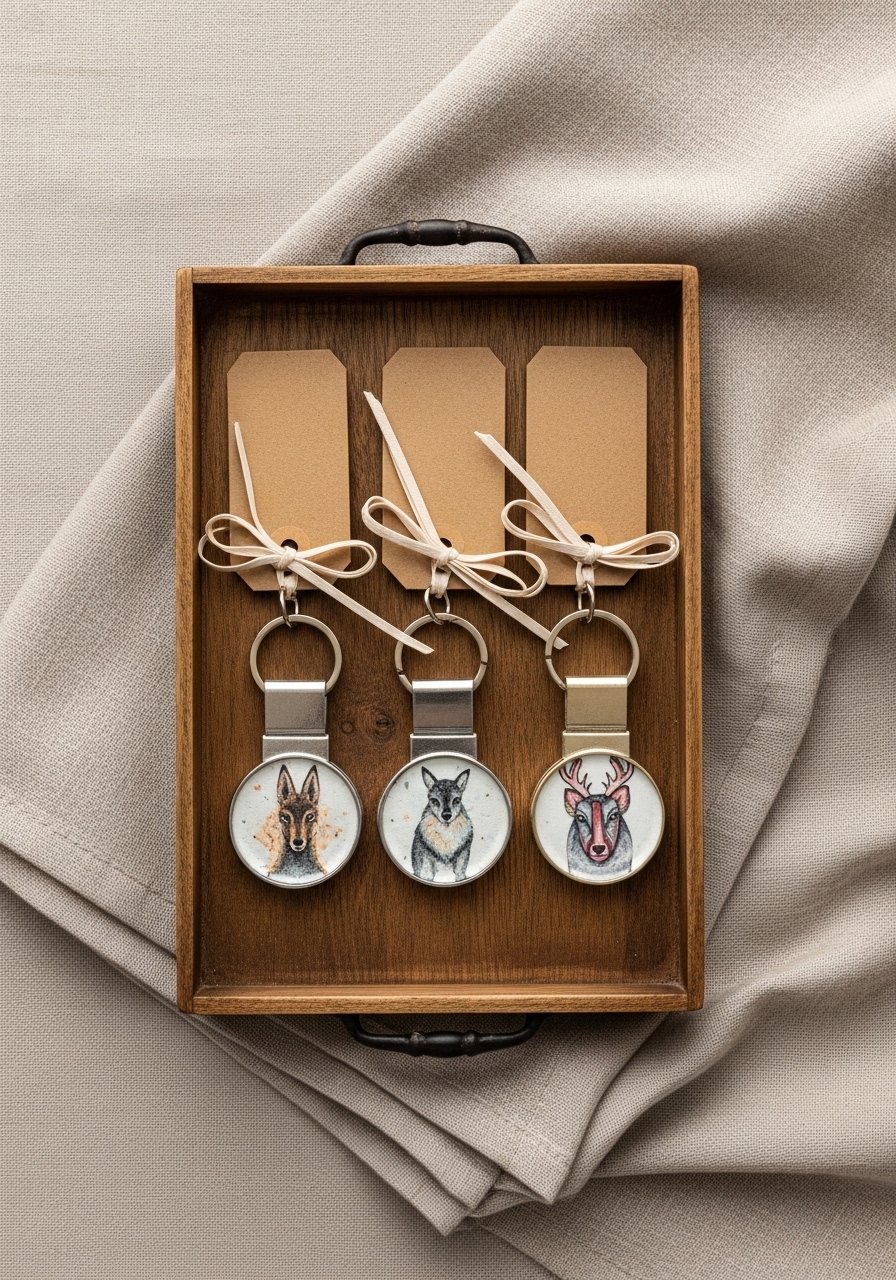
Once cured, your keychain is ready to wear or gift. For gifting or selling, make it pin-worthy:
- Attach to a kraft card or small clear zip pouch for a polished presentation.
- Batch-make by keeping sorted beads in a stackable craft organizer tray for quick assembly sessions.
- Test durability: pull gently on each knot and let glue cure 24–72 hours if used.
Variations: swap macramé cord for 2mm leather or use colorful seed beads strung on nylon beading thread for lightweight designs.
You’ve just learned a quick, beginner-friendly way to make a DIY beaded keychain that’s both colorful and sturdy. Pin this guide for your next craft afternoon and try making a small batch for gifts. Which color combo will you make first? If you want a single tool that speeds everything up, a compact assorted wooden beads pack makes choosing palettes simple — save this and share with a friend who loves quick projects!


