You open your pantry and see mismatched boxes, half-used bags, and zero visual order. When you decorate a small pantry well, it looks calm and helps you cook faster. You can make a tiny space both beautifully styled and perfectly organized without a full remodel.
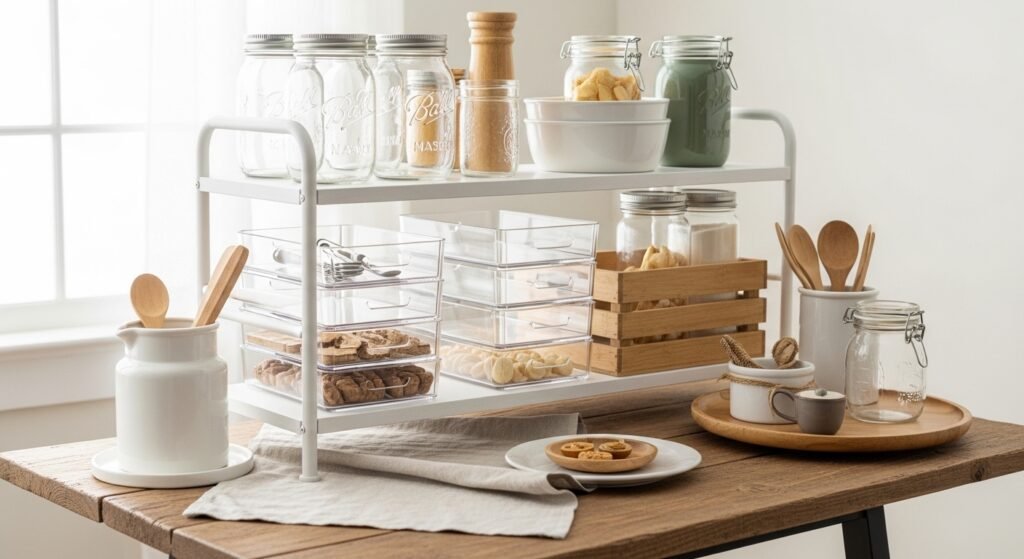
The secret is a few smart tools—clear storage that shows contents and stackable organizers that double height. Try mason jar sets for dry goods and stackable craft organizer trays to create invisible layers. Give yourself about an afternoon (2–4 hours) to sort, style, and install.
In this guide you'll learn how to plan, prep, and style while keeping everything practical. Expect simple steps, exact measurements for spacing, quick labeling tips, and product picks that solve real pantry problems.
Plan the layout and measure for function

Start by emptying the shelf and measuring width, depth, and height. Small pantries usually have 10–14" depth; pick organizers that fit with 1" clearance front and back. Sketch two zones: everyday (eye level) and bulk or overflow (top/bottom).
- Measure shelf height in 4–6" increments to plan risers and jar stacks.
- Use shelf risers for cabinets to add 6–8" of usable vertical space.
- Place frequently used items near the door and less-used in back on a lazy susan turntable so you don't need to move everything to reach one jar.
Pro tip: Photograph the empty shelf with your phone before you move things back—it's a quick reference to stay consistent when restocking.
Sort, group, and pick the right containers
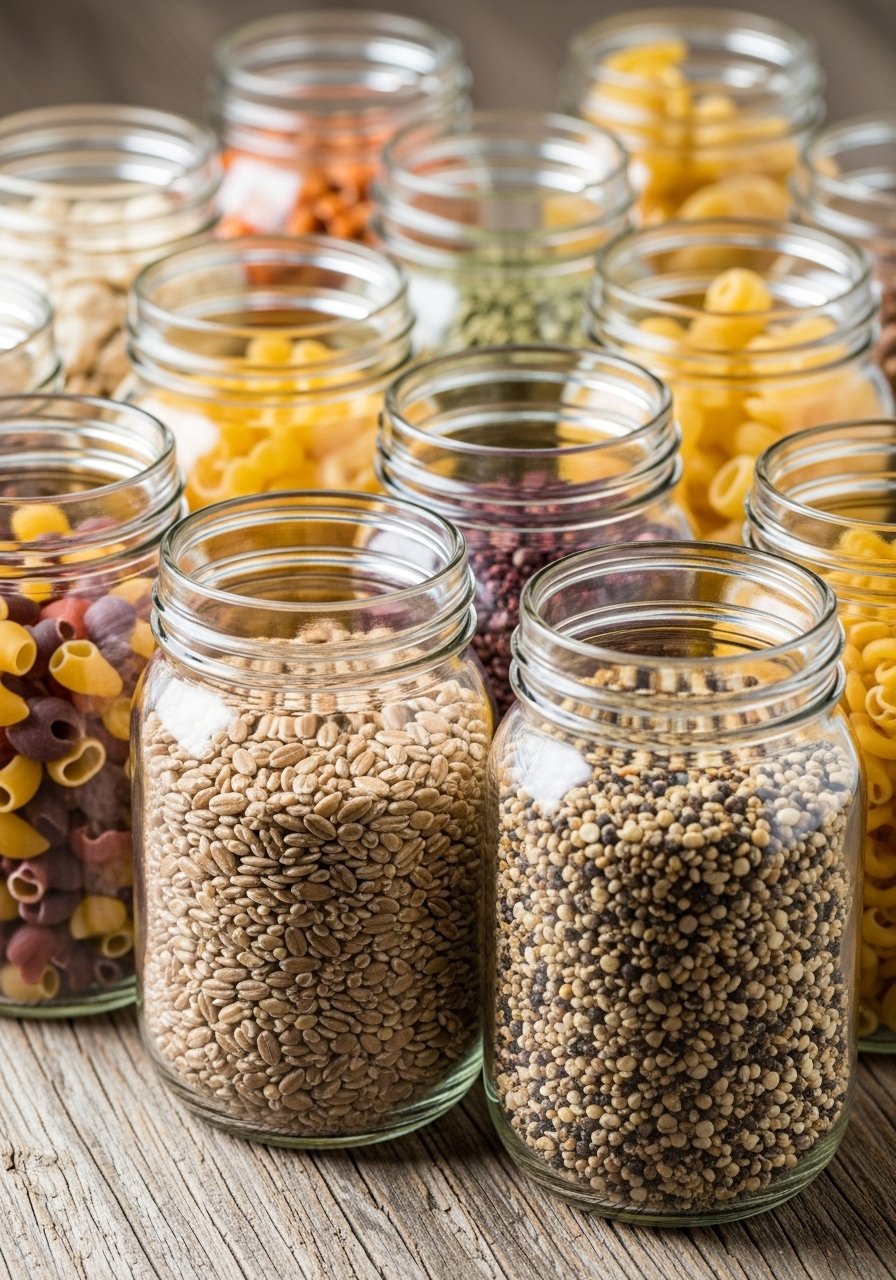
Grouping makes a pantry feel styled. Pour staples into uniform containers for a clean look and faster inventory checks.
- Use mason jar sets for grains and flours—opt for 16–32 oz for most dry goods.
- Reserve square or rectangular stackable craft organizer trays for packets and baking tools; stacks should be no taller than 10–12" to fit shelves.
- Keep loose items like chips or produce in a small wooden crate for rustic texture.
Quick tips:
- Fill jars to within 1/2"–1" of the lid to keep freshness and avoid spills.
- Store extra seasoning packets in clear zip pouches for visibility.
Labeling, finishing touches, and durable fixes
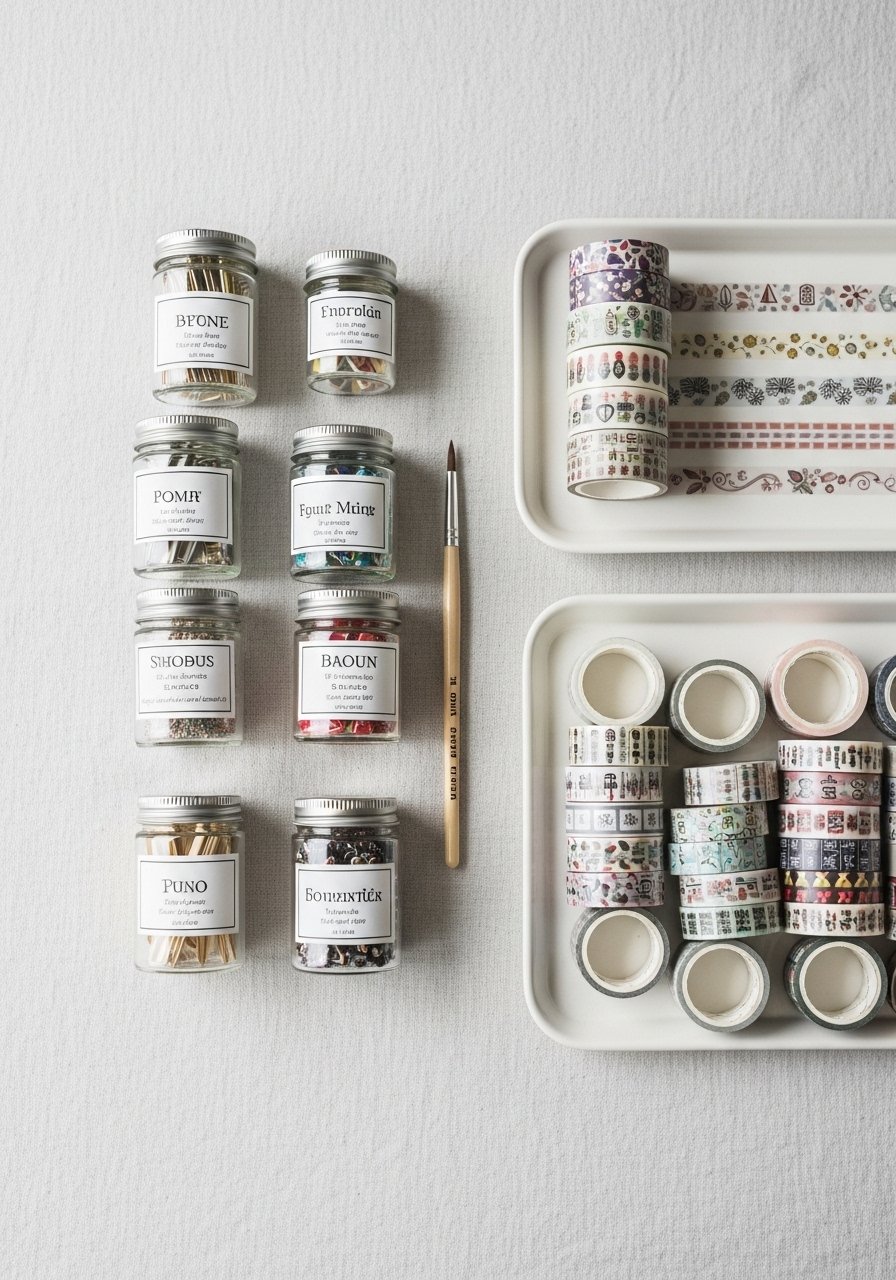
Labels make a small pantry usable. If you want a handmade look, use washi tape sets and a permanent marker, or secure printed tags with double-sided tape.
- To create permanent chalkboard-style tags, coat paper tags with thin layers of Mod Podge matte; allow 15–20 minutes between coats and 24 hours to cure.
- Use painter's tape during staging to mark shelf heights without damaging finish.
Pro tricks:
- Place a non-slip liner under stacked trays to prevent sliding.
- Group by color or ingredient family to make the pantry feel curated and pin-worthy.
Style, display, and maintain the look

Balance beauty with function by mixing textures and negative space. Leave one small area for a decorative object—a small plant or wooden spoon holder—to keep the shelf from feeling store-like.
- Rotate items seasonally; swap out one jar for a decorative bowl to refresh the look.
- Use stackable craft organizer trays on open shelves for visual consistency and easy cleaning.
- Store overflow in labeled crates on the floor or top shelf for accessible bulk storage.
Maintenance: set a 10-minute weekly tidy—restock jars, wipe shelves, and rotate expirations. This short habit keeps your small pantry functioning and photogenic.
You can decorate a small pantry that works hard and looks calm. Once you try clear jars and stackable trays, you'll reach for them every week. Pin this guide for your next pantry refresh and grab a set of mason jars or shelf risers to get started. Which shelf will you style first?


