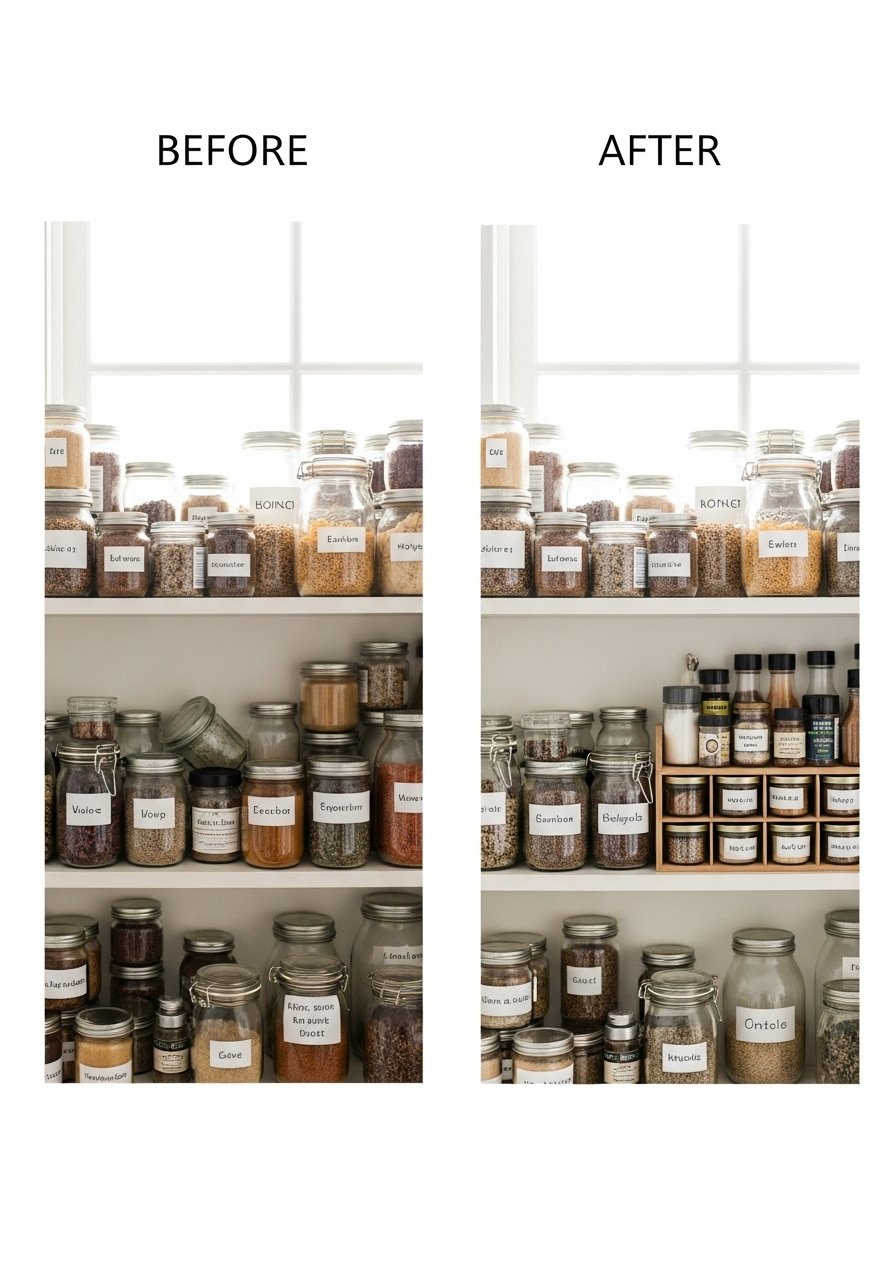
You open the pantry and can’t find the baking powder—again. Labeling a small pantry makes everything easy to find and keeps daily life calm. This guide shows you how to label a small pantry so items are visible, tidy, and simple to maintain.
You’ll learn quick planning, a beginner-friendly way to make labels (no fancy tech required), and display tips that look pin-worthy. A Cricut cutting machine or a sharp precision craft knife set will speed up label cutting—pick one that fits your skill level. Expect to finish most small pantry labeling in 30–90 minutes.
Follow short steps to measure, choose label types, create, and apply labels that stay put but peel off cleanly later.
Gather and prep for a tidy small pantry labeling session
Start by clearing one shelf at a time—don’t overwhelm yourself. Pull like items together (baking, grains, snacks) and set aside any expired or duplicate items. Measure the shelf depth and the front face of your most-used jars.
- Measure jars and containers (width and height) in inches; note the tallest stack for labels.
- Time estimate: 10–20 minutes for a small pantry.
- Use a self-healing cutting mat under projects to protect surfaces.
Prep tips:
- Wash and dry jars—labels stick best to grease-free glass.
- Sand any wooden lids lightly if you’ll paint them using a foam brush set.
- Keep a scrap paper for testing fonts and sizes.
Choose the right label style for your pantry
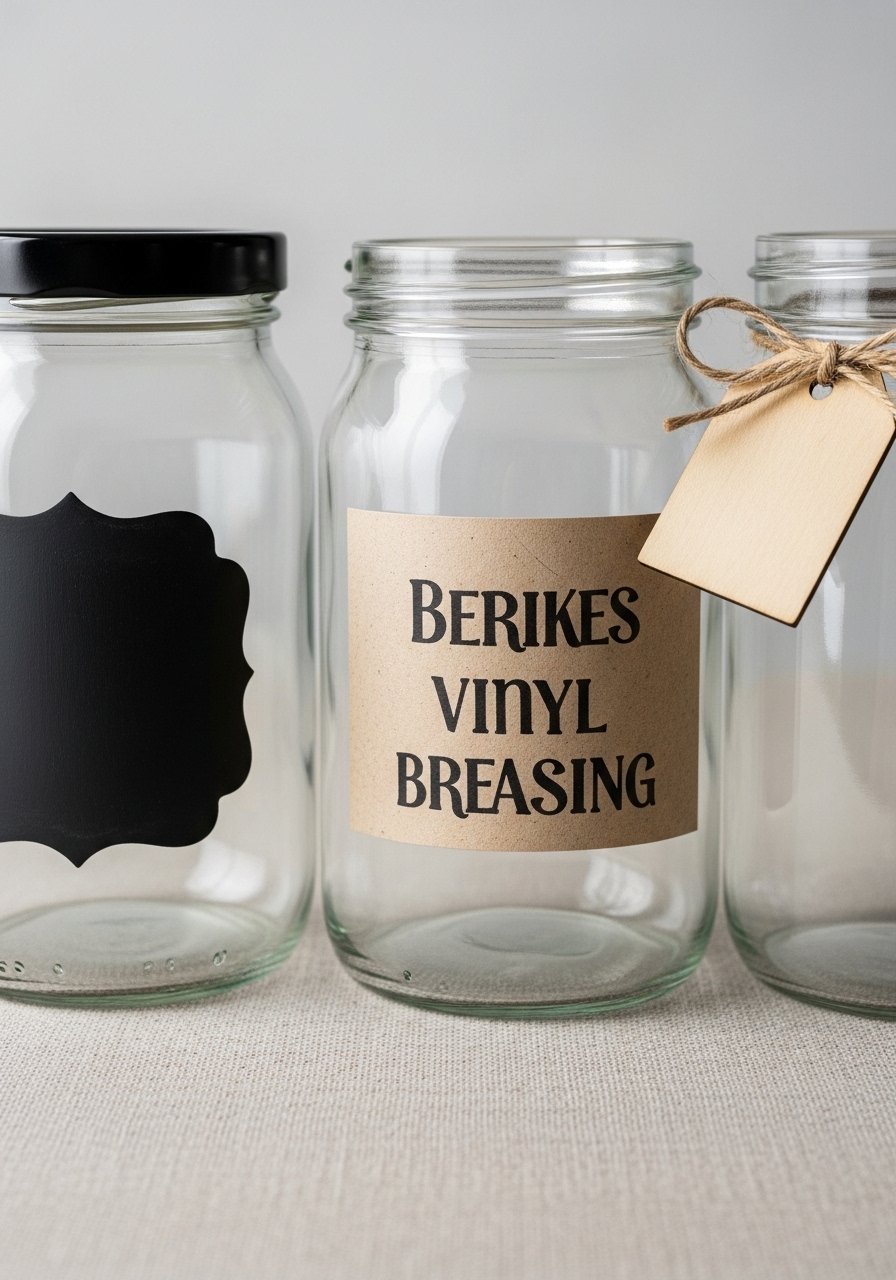
Decide if you want written chalkboard labels, printed vinyl, or simple wooden tags. Each has pros:
- Chalkboard labels (painted area) are great for frequently changing contents—use a chalk paint applied in 2 thin coats, dry to the touch in 20–30 minutes, recoat after 2 hours.
- Vinyl labels cut on a Cricut cutting machine give a crisp, waterproof look.
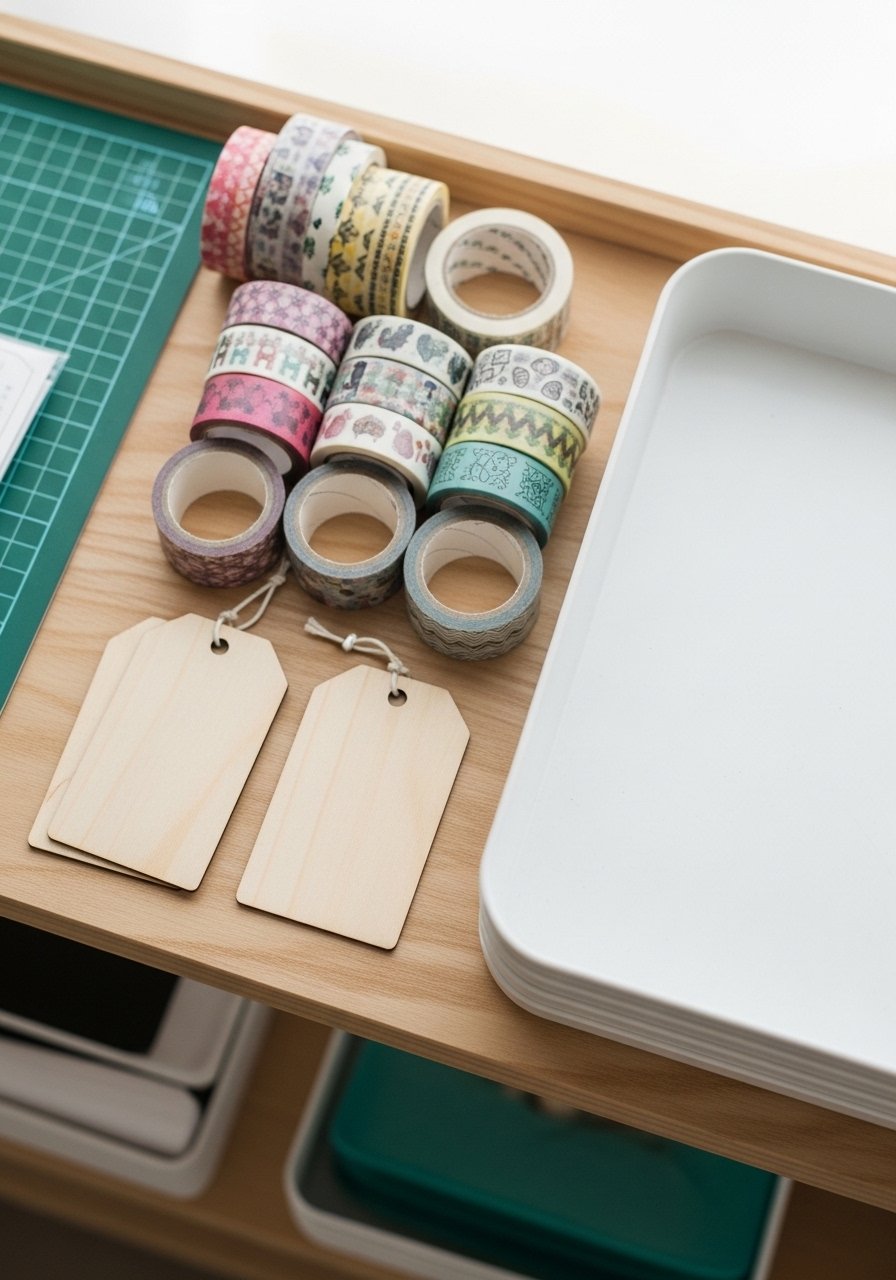
- Wooden blanks tied with twine offer a rustic vibe—use wooden blanks and stain or paint lightly.
Make choices based on:
- How often you swap contents
- Whether jars go in humid areas (use vinyl for humidity)
- Your aesthetic—minimal labels for a modern look, wooden tags for cottage style
Make and apply labels like a pro (step-by-step)
- Draft your label sizes and fonts on scrap paper.
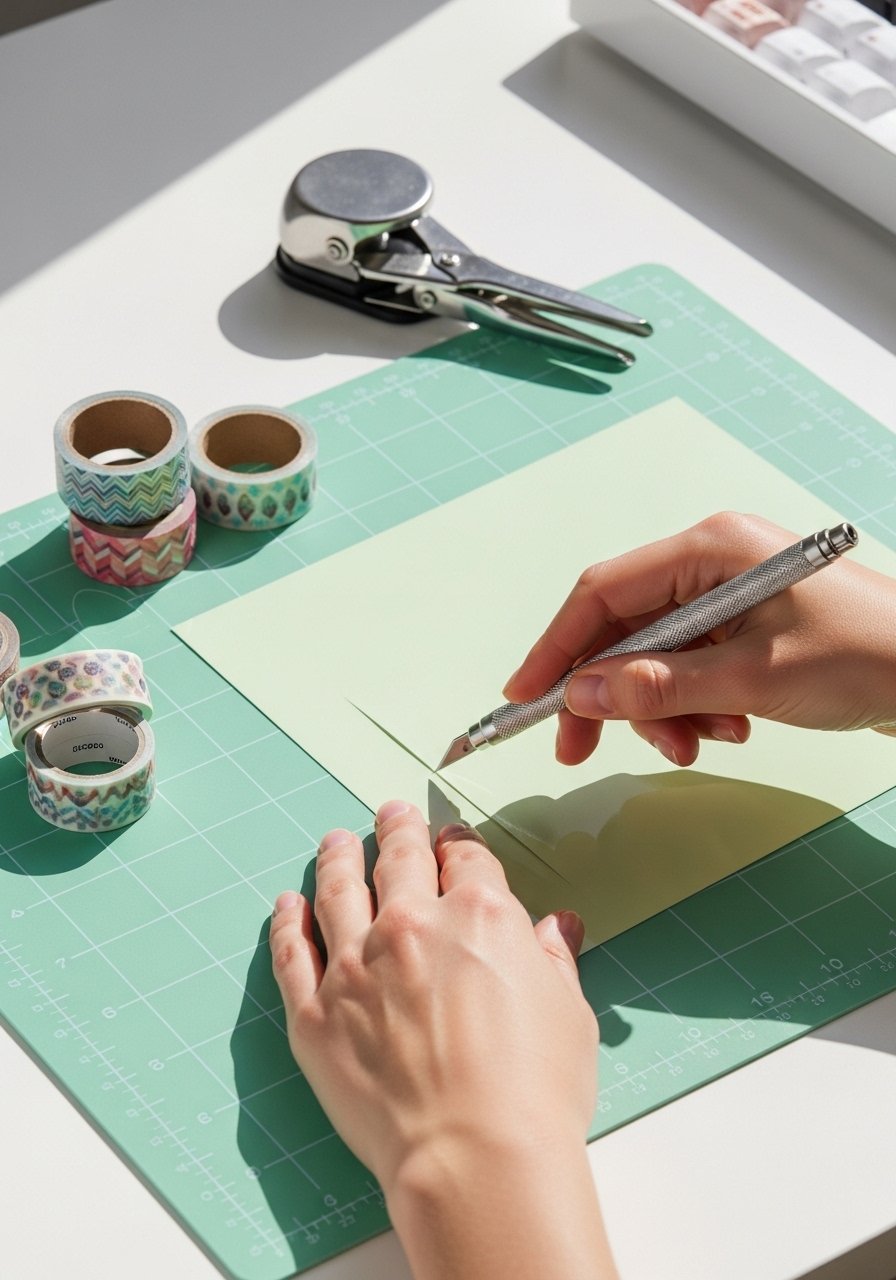
- For vinyl:
- Design labels to be 0.25–0.5 inches smaller than the jar face.
- Cut with a Cricut cutting machine or by hand on a self-healing cutting mat using a precision craft knife set.
- Use a circle punch set for round labels.
- For chalkboard:
- Paint a neat rectangle or oval; two thin coats, sanding lightly between coats if needed.
- Cure time: wait 24 hours before writing to avoid smudges.
- Apply labels:
- Clean surface with rubbing alcohol.
- Use double-sided tape for lightweight wooden tags.
- Smooth vinyl with your thumb or a cloth to remove bubbles.
- Use washi tape for decorative borders or temporary labels.
Quick tips:
- Test one jar first before doing the whole shelf.
- Keep label sizes consistent across a grouping for a cohesive look.
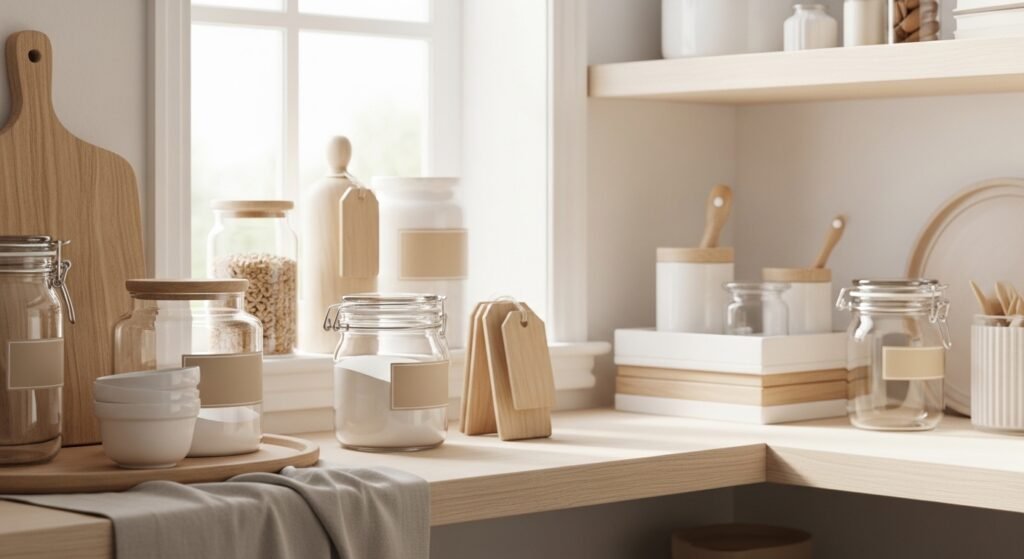
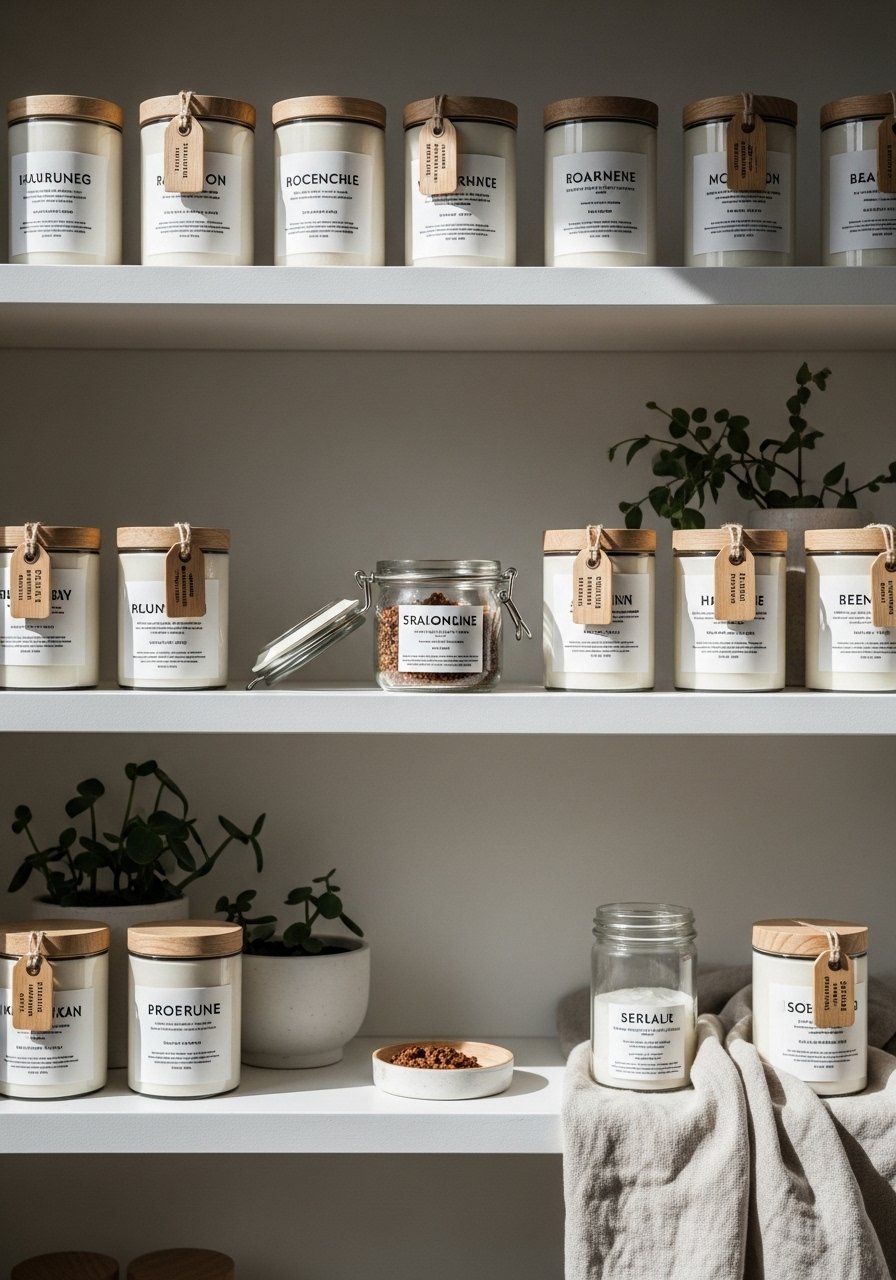
Finish, display, and keep your small pantry organized
Arrange labeled items by function and frequency: grab-and-go snacks on one shelf, baking in another. Use mason jars for dry goods and stack extras in a craft organizer tray for packets.
Maintenance tips:
- Wipe labels with a damp cloth; vinyl survives better in humid areas.
- Re-label every 6–12 months or when repacking bulk buys.
- Store extra label sheets and a spare precision craft knife set in a small drawer so you can refresh labels fast.
Common pitfalls:
- Cutting labels too large—leave a small margin.
- Applying labels to greasy surfaces—always clean first.
A small, labeled pantry makes meal prep faster and looks calm in photos—pin-worthy every time.
The labels you just made will keep staples visible and make mornings move faster. If you want one tool that speeds everything up, a Cricut cutting machine turns label-making from fiddly to fast. Pin this guide for your next pantry refresh and share it with a friend who loves order. Which shelf will you tackle first?


