You want a stylish, weather-ready centerpiece for your patio but don’t want to pay designer prices. A DIY outdoor coffee table gives you control over size, finish, and the exact look you want. This guide shows how to build a simple, beginner-friendly DIY outdoor coffee table that resists rain and sun and works for small patios or big decks.
The secret is pairing a sturdy wood top with a sealed finish. I recommend starting with a pre-sanded wooden top for quick assembly and using a clear outdoor sealer for lasting protection. Try a wooden table top blank and keep a set of foam brushes on hand for smooth coats.
You’ll learn how to prep materials, assemble a stable base, make a weatherproof top, and style the finished table. Expect about 3–6 hours of active work plus drying time for finishes.
Gathering and prepping your materials (easy, beginner-friendly)
Start with a ready-made top to save cutting time. Choose a solid wood table top blank sized for your space—common dimensions are 36–48" wide by 20–26" deep. If you want a square coffee table, aim for 36"x36".
Prep steps:
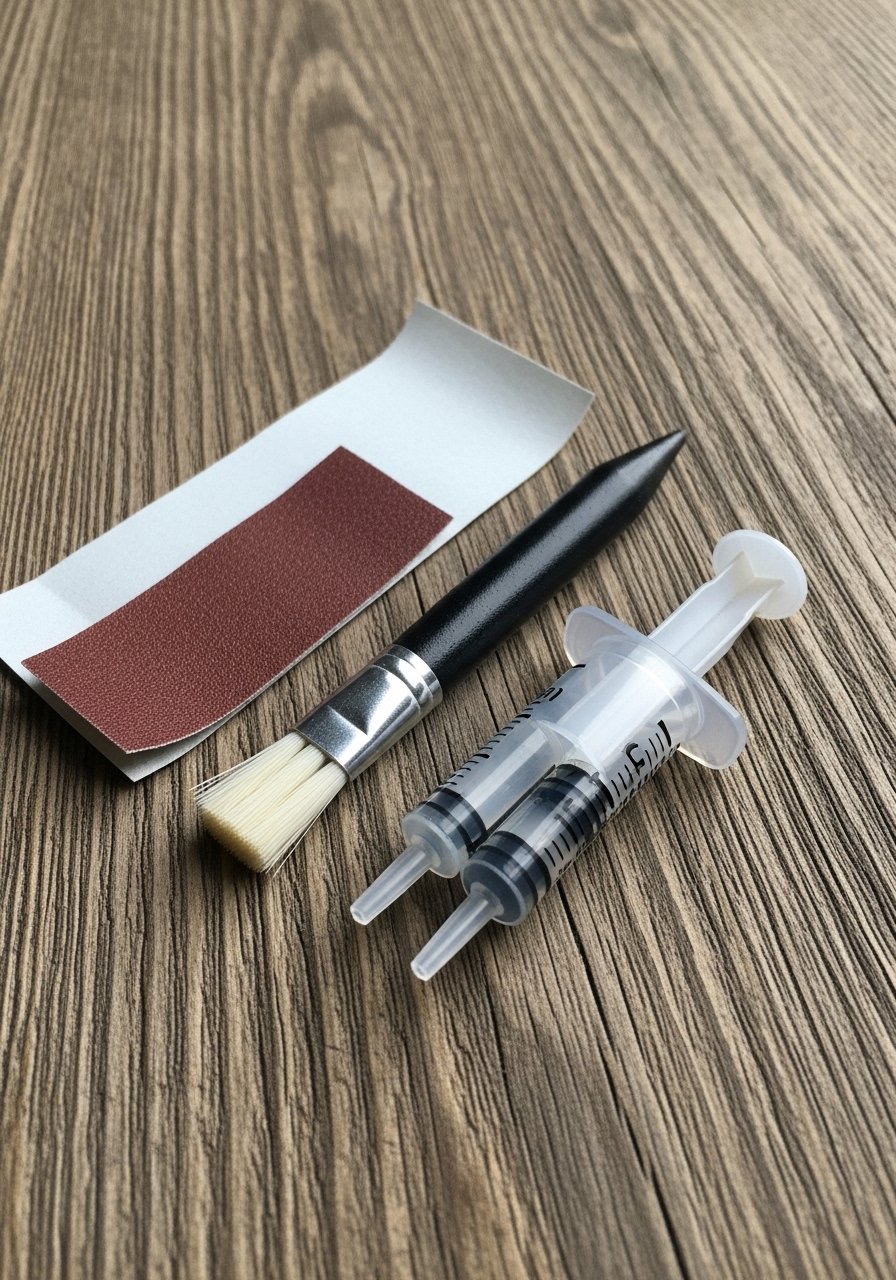
- Lightly sand edges and faces with a sandpaper set using 120 → 220 grit.
- Wipe with a damp cloth and let dry 30 minutes.
- Mask underside edges with painter’s tape if you plan to paint the base.
Tips:
- Buying a pre-cut top shortens project time to one afternoon of assembly.
- Sand with the grain for a smooth finish.
Build the base and attach legs (one-afternoon build)
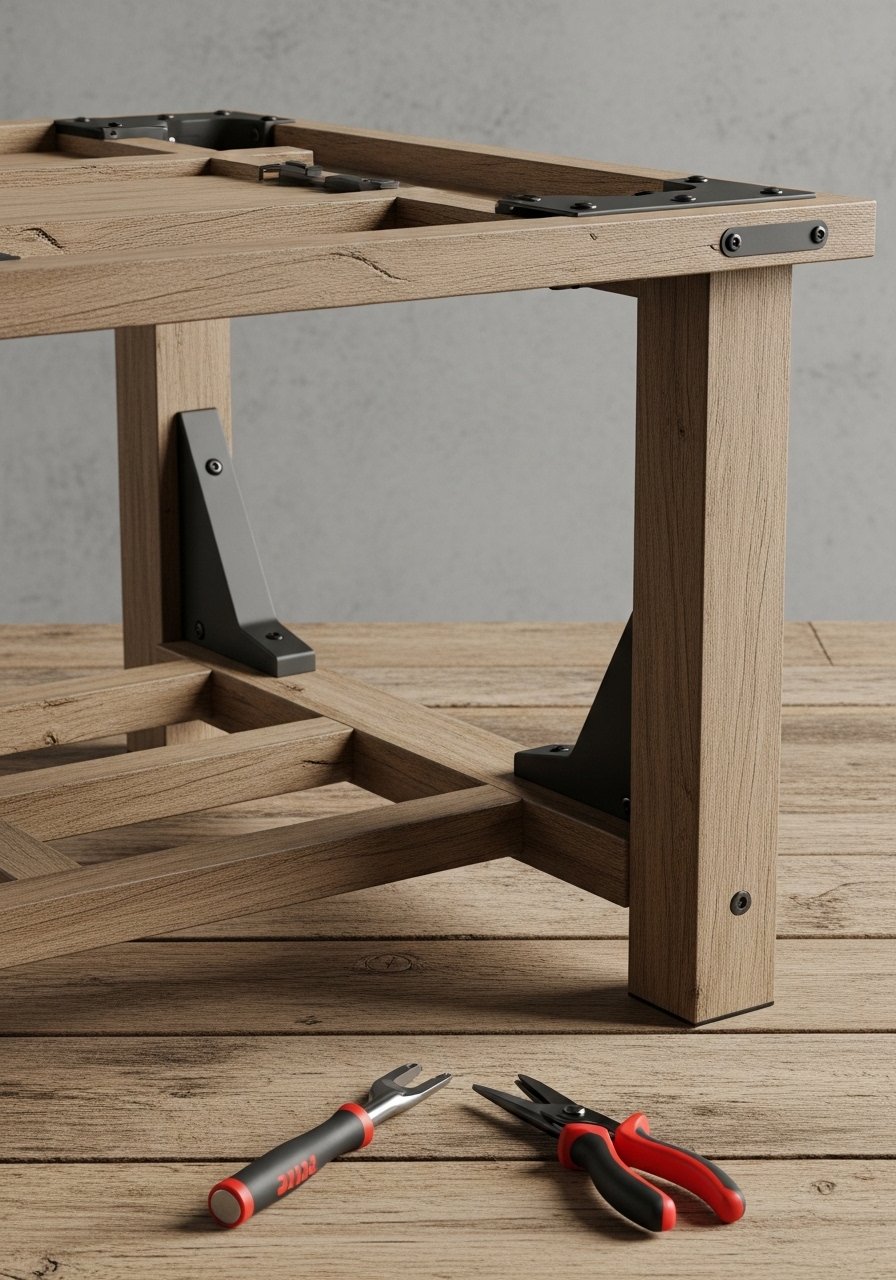
You can keep the base simple and sturdy: four legs attached to a plywood or framed support. If you skip heavy tools, use pre-made furniture legs or raw wood legs you bought pre-cut.
Assembly steps:
- Position legs and mark screw points; use 4 screws per leg for stability.
- Drill pilot holes and attach with exterior-rated screws (have hardware cut at the store if needed).
- Reinforce with a thin bead of E6000 adhesive under the top for extra hold.
- Flip table and check wobble; tighten as needed.
Tips:
- Use blocks to lift the top while screwing—keeps finishes flawless.
- If you prefer metal legs, hairpin styles offer a modern farmhouse look.
Create a weather-resistant top (budget-friendly, durable)
For reliable outdoor resistance, either apply multiple coats of exterior sealer or pour a thin epoxy layer for a glass-like finish.
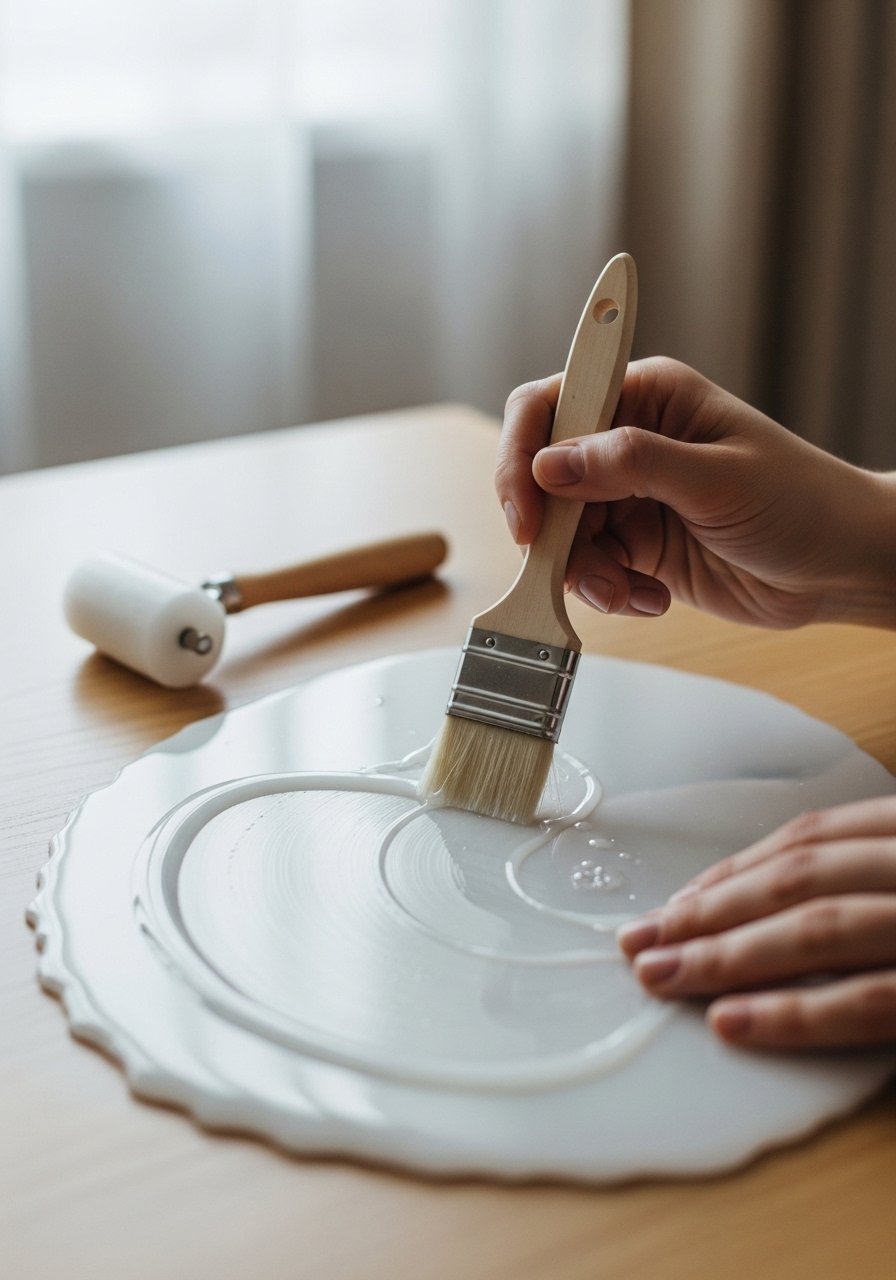
Option A: Exterior sealer
- Apply two thin coats of outdoor water-based sealer, allowing 2–4 hours between coats.
- Use a foam brush set for smooth application.
- Let cure 24–48 hours before light use.
Option B: Epoxy top (more durable)
- Mix an epoxy resin kit per manufacturer directions.
- Pour thin layers (max 1/8" per pour), pop bubbles with a heat gun or torch, then let cure 12–24 hours between layers.
- Total cure often 72 hours before outdoor exposure.
Tips:
- Roll out epoxy edges with a brayer roller for even coverage.
- Work in a dust-free area to avoid particles landing in the finish.
Finish, protect, and style (pin-worthy patio look)
After sealing, add bumpers under the legs to protect decking and allow airflow so moisture doesn’t trap.
Finishing touches:
- Add a second protective coat on the underside with outdoor Mod Podge sealer and let dry 24 hours.
- Store cushions inside during rain; use a waterproof tray for plants.
- Keep extra supplies in stackable craft organizer trays for next touch-up.
Styling ideas:
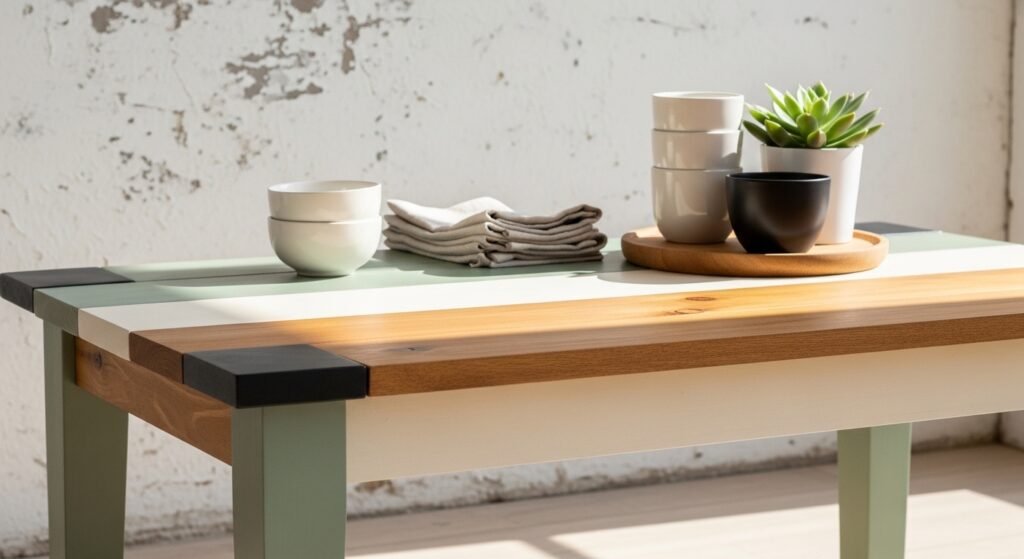
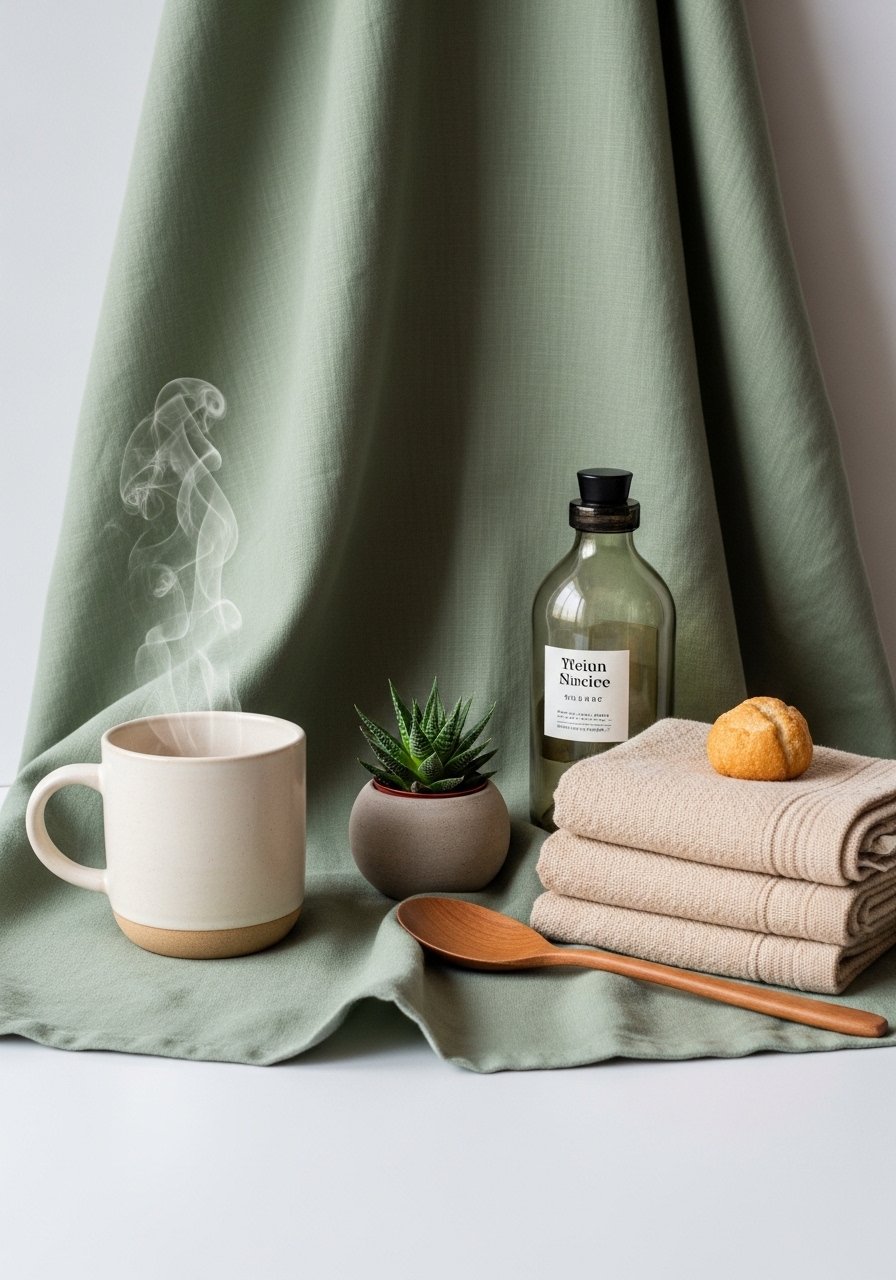
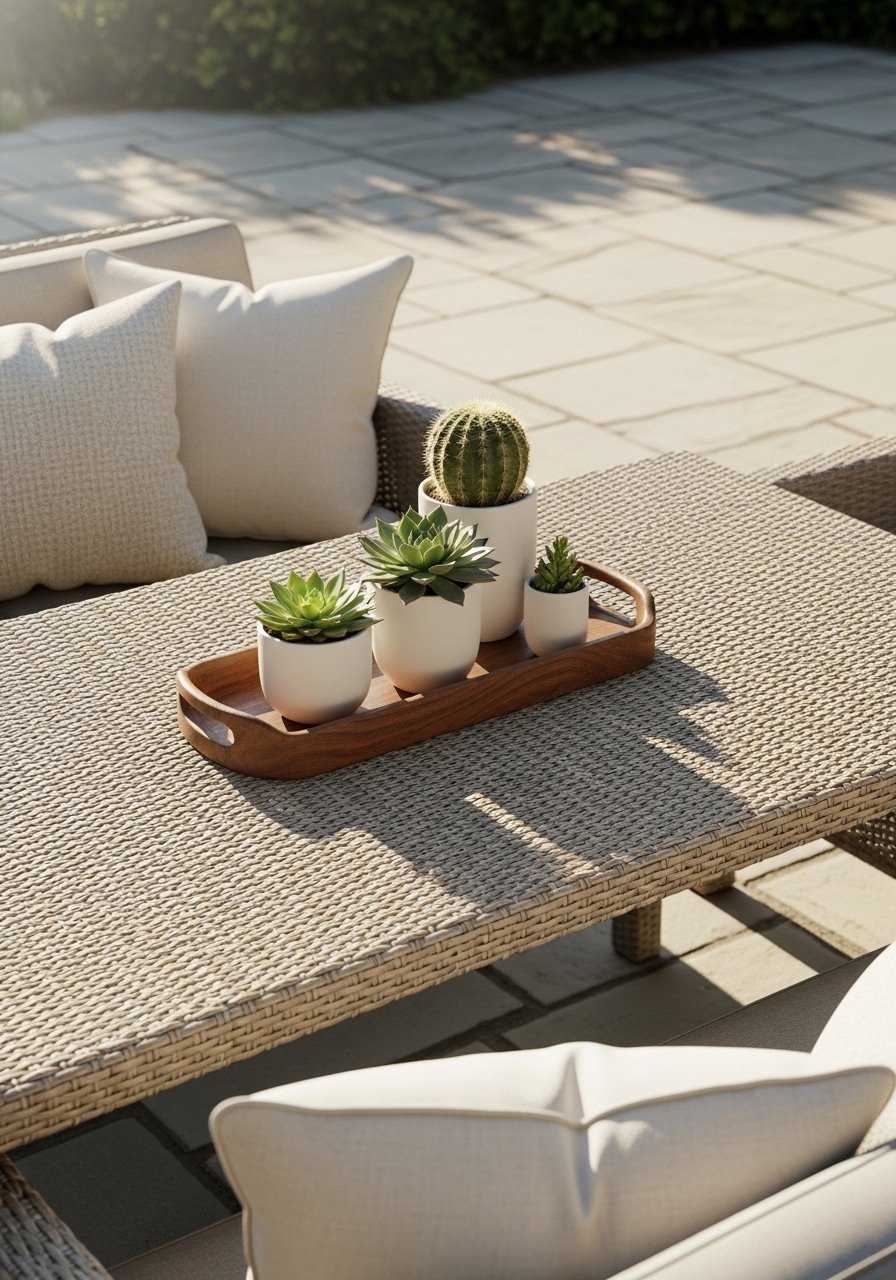
- Group a ceramic planter, a small stack of books, and a woven coaster for a cozy look.
- Paint the base a matte black or sage for contrast—use exterior-grade paint and let dry 24 hours.
Quick troubleshooting and time-saving tips
- If finish shows tiny dust specks, sand with 320 grit between coats and re-coat.
- For puddling resin, tilt table slightly and wipe edges within 5–10 minutes.
- Want faster build? Buy pre-cut wooden legs and a top blank to finish in an afternoon.
This project is forgiving—light sanding and an extra sealer coat fix most mistakes.
Ready to make a DIY outdoor coffee table that lasts and looks great? Pin this guide for your next patio refresh and save a shopping list with the linked tools above. Which finish will you try first?


