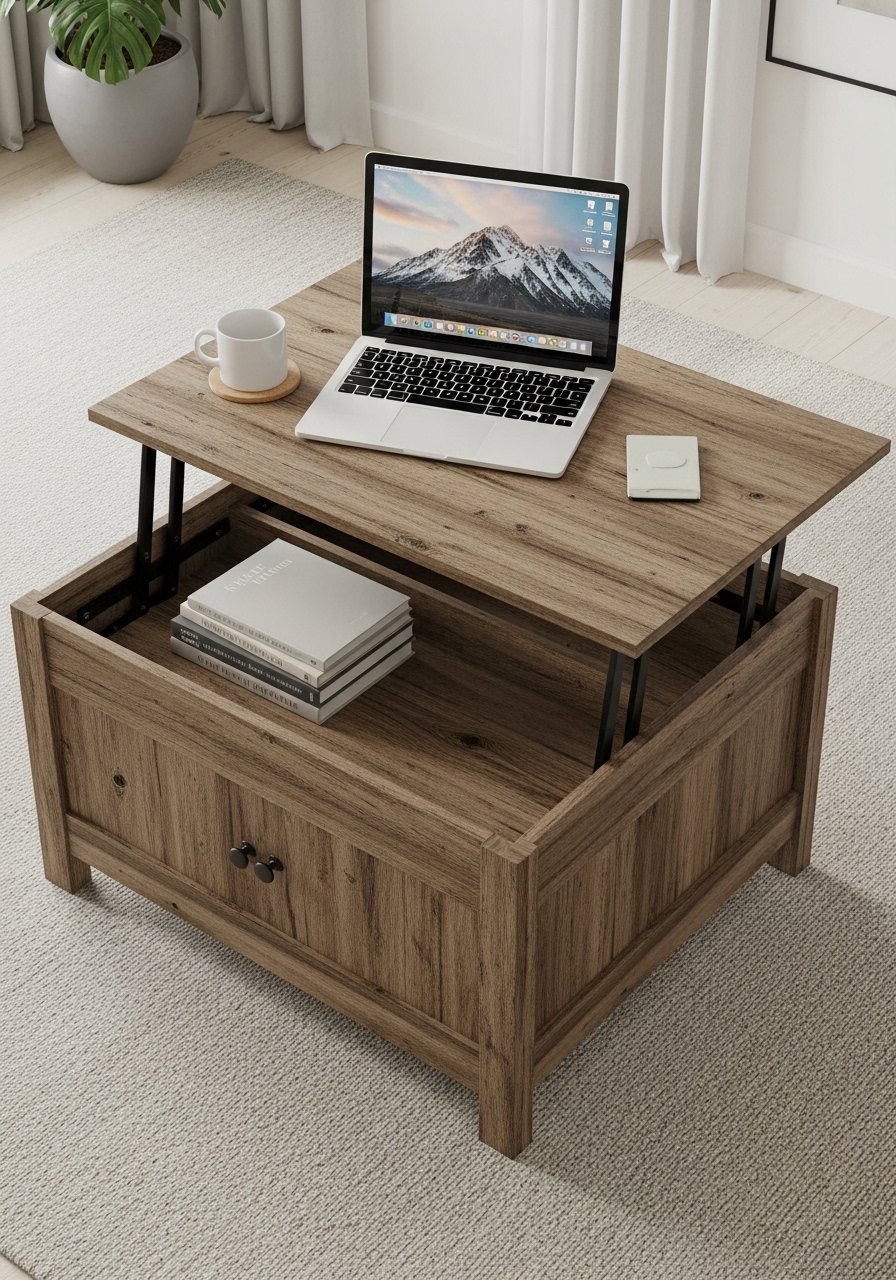
You love your small living room but not the clutter — a DIY lift top coffee table solves that. A DIY lift top coffee table gives you hidden storage, a raised workspace for laptop or meals, and a compact footprint that fits snugly in tight layouts. This guide shows you how to build a sturdy, space-saving lift top coffee table in an afternoon-plus-dry time, even if you’re a beginner.
The secret to clean cuts and accurate holes is good measuring. I keep a self-healing cutting mat for templates and a precision craft knife for crisp edges when trimming veneer or tape. You’ll also want a steel ruler for square lines — it saves time and mistakes.
What you’ll learn: material choices and measurements, building the base and lift mechanism, finishing for longevity, and quick styling hacks for small rooms. Expect about 4–6 hours of hands-on work and 1–3 days for finishes to fully cure.
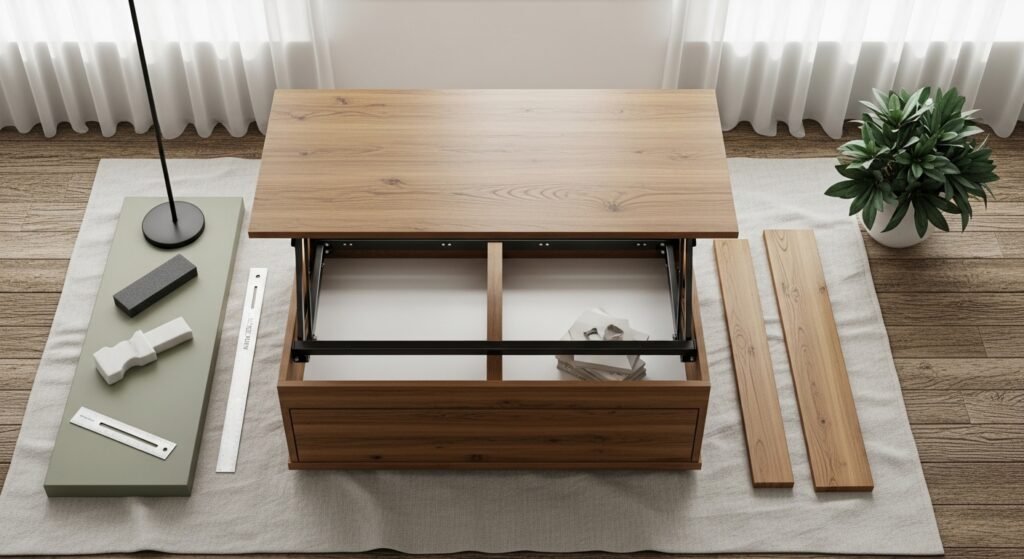
Gather and prep materials for a beginner-friendly build
Start by cutting or buying a tabletop sized around 36" x 24" for a small living room; use 3/4" plywood or a pre-cut wooden top. For clearance, plan the lift to raise the top about 6–8".
- Mark guides with a steel ruler and cut templates on your self-healing cutting mat.
- Use a precision craft knife for veneer trimming and a steel ruler for straight edges.
- Reinforce joints with strong adhesive; a general-purpose E6000 adhesive is handy for small trim and dowel work.
Tip: Pre-drill pocket holes or pilot holes so screws don’t split the wood. If you’re short on time, buy pre-cut legs or a pre-made base to speed assembly.
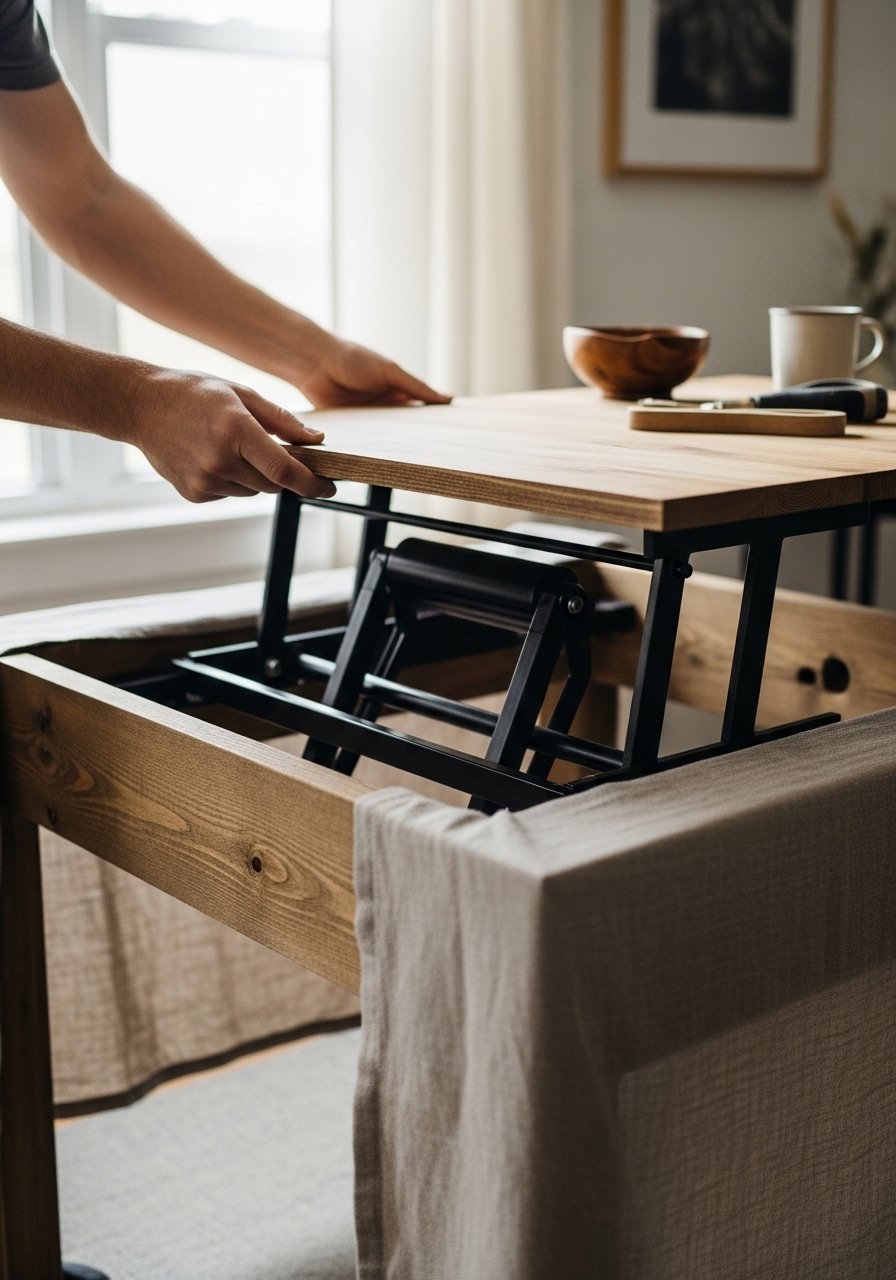
Build the base and attach the lift top mechanism
Assemble a sturdy rectangular base sized slightly smaller than your top — 34" x 22" internal frame is a good starting point. Use wooden dowels for corner reinforcement.
- Glue and clamp frame joints; press with a brayer or hands until dry (clamping 30–60 minutes).
- Attach the tabletop with the lift mechanism per manufacturer instructions — ensure a consistent gap and test movement.
- Check lift clearance: the top should glide smoothly with no wobble and stop at the intended height.
Products that help here:
- Round up a pack of wooden dowels for reinforcement.
- Use a stackable craft organizer tray nearby to keep screws and small parts sorted while you work.
Warning: don’t overtighten fasteners; you want smooth lift action, not a locked hinge.
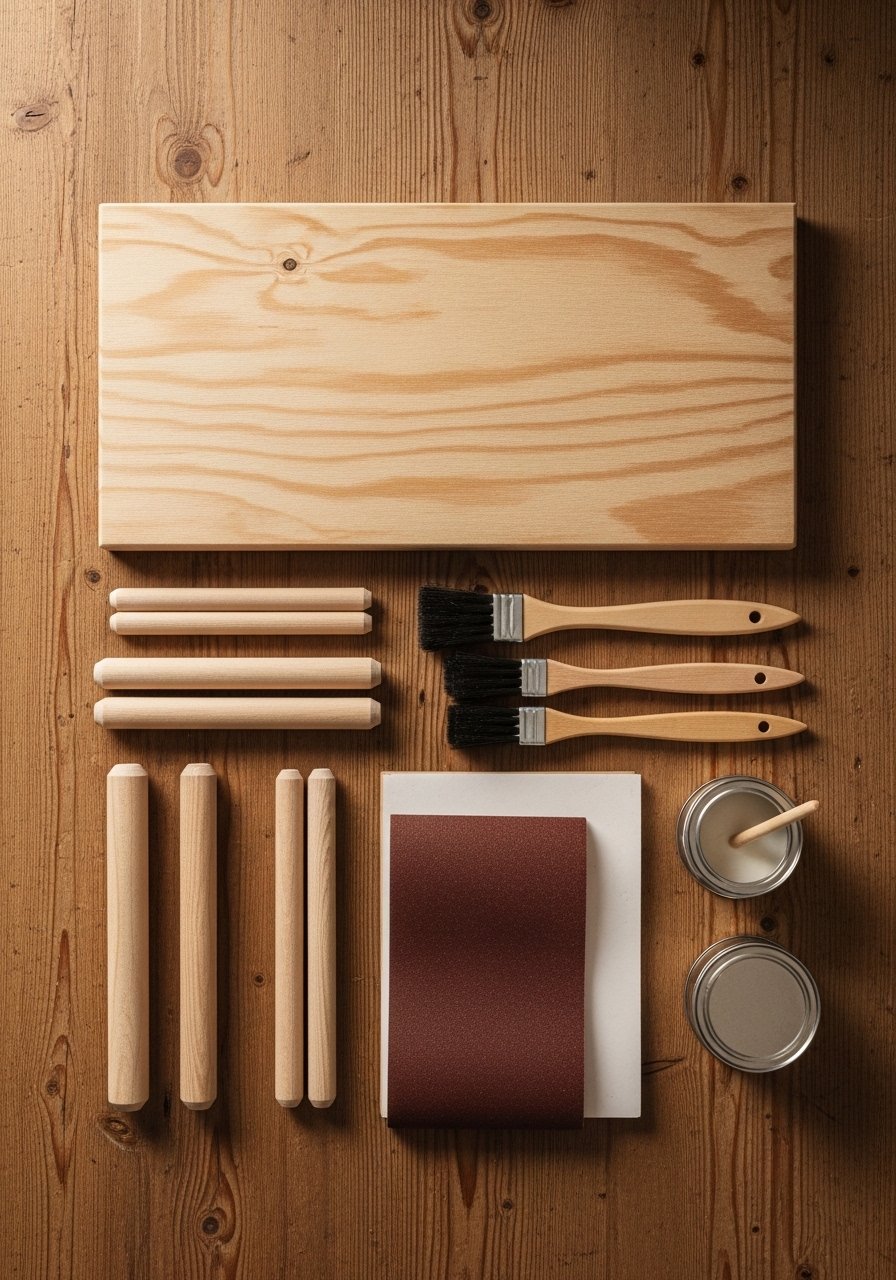
Sanding, painting, and a durable finish
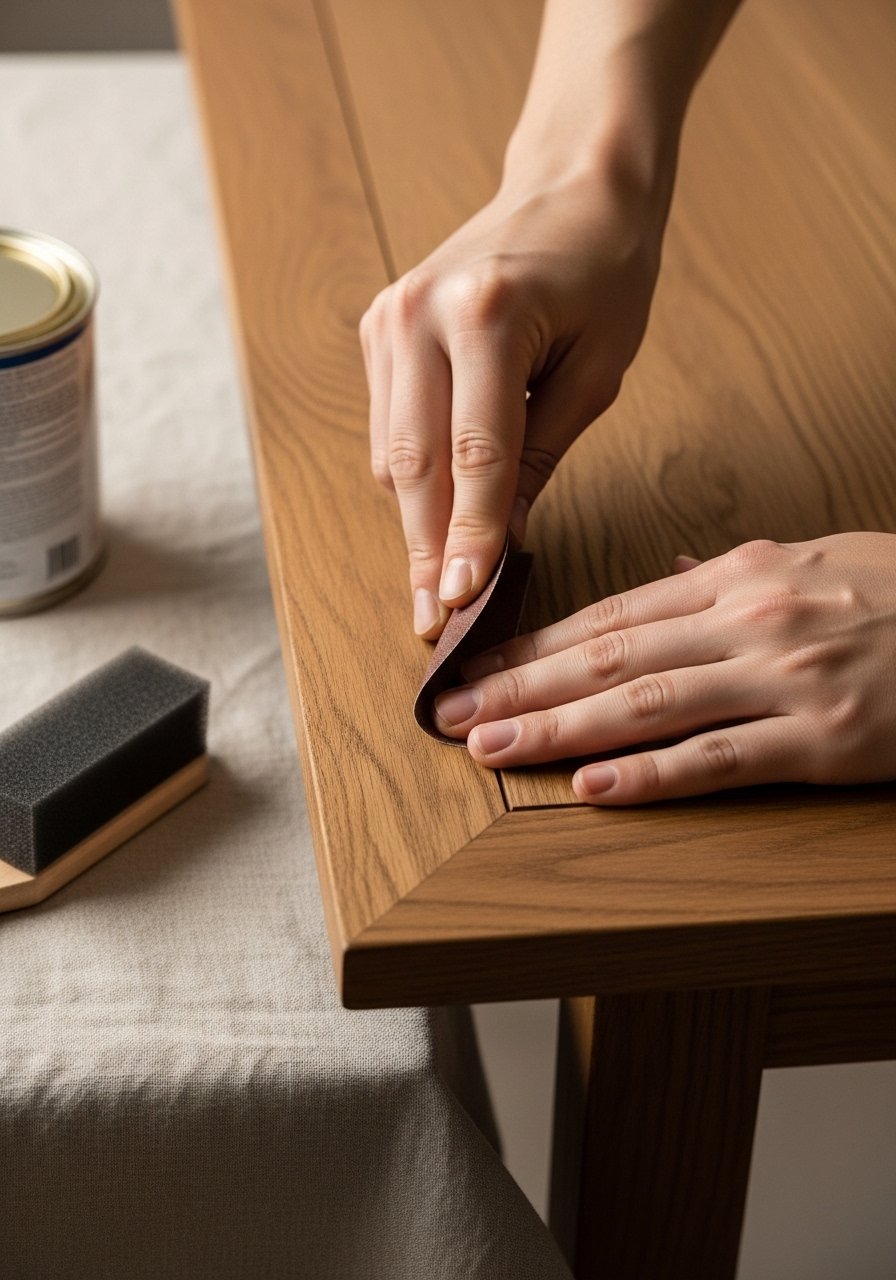
Sanding and finishing are what make a project feel finished. Start with a medium grit, then a fine grit for a smooth touchable surface.
- Use an abrasive sandpaper set — 120 then 220 grit works well.
- Wipe dust with a damp cloth, then apply paint or stain in thin coats. A foam brush set keeps brush marks minimal.
- For color, a small acrylic paint set or wood stain can give a fresh look. Expect 1–2 hours dry time between coats.
- For a glossy, durable top, consider an epoxy resin kit; cure times run 24–72 hours. Use a heat gun briefly to pop bubbles.
Pro tip: low-tack painter's tape keeps edges crisp when you paint the base a different color.
Style, storage, and small-room tricks
Once finished, use the lift top as a workstation or for stowing throws and remotes. Quick organization hacks:
- Keep chargers and small cables in clear zip pouches so everything is visible.
- Use stackable craft organizer trays inside the storage cavity to separate items.
Style tip: choose one warm wood tone and a muted accent color (sage or soft white) to keep the piece looking cohesive and pin-worthy.
Your DIY lift top coffee table gives small spaces a big boost. Pin this guide for a weekend build, and save the finish tips for later. Which finish will you try — painted base or clear resin top? Ready to make it? Let's go!


