You love small, handmade gifts but hate projects that take all weekend or leave a mess. DIY keychains from scratch are the perfect short project: cute, durable, and wildly customizable. You’ll make several in an afternoon that hold up to daily use and still look pin-worthy.
A few smart tools make this effortless. Pre-cut shapes on a self-healing cutting mat and slice details with a precision craft knife for clean edges without frustration. Expect to learn three quick methods—shrink plastic, polymer clay, and simple resin—and how to finish like a pro.
What you’ll learn: step-by-step shaping, exact baking and curing times, how to attach findings so they don’t fall off, and quick ways to batch-make for gifts or a shop.
Gather and prep materials for quick, beginner-friendly DIY keychains

Start by choosing your base material—shrink plastic for instant detail, polymer clay for sculpted charms, or resin for glossy, layered pieces. Cut shapes to about 1.5–2 inches before shrinking or baking; that yields final keychains that aren’t too bulky.
Prep tips:
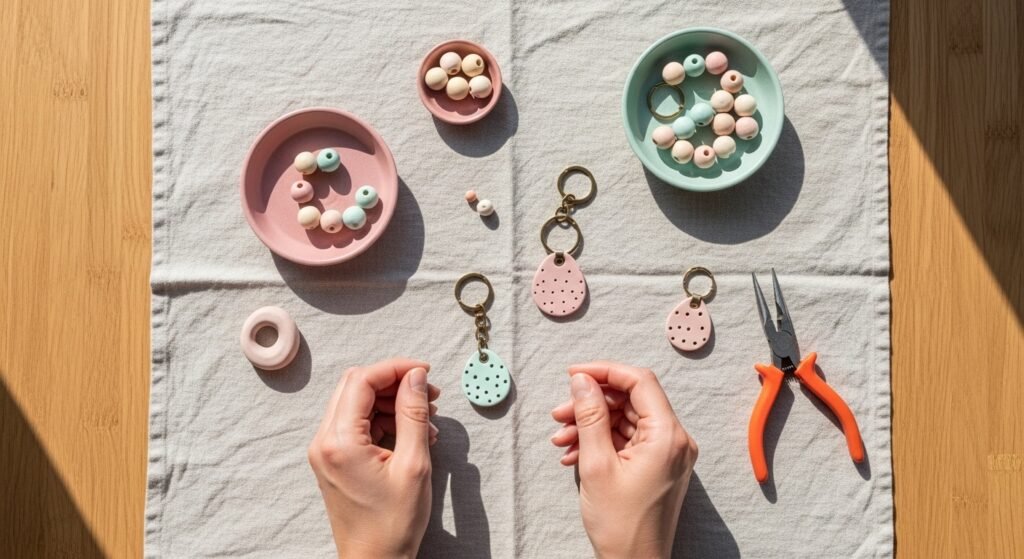
- Use a self-healing cutting mat and a precision craft knife to get crisp shapes.
- Keep findings like keychain split rings and lobster clasps and split ring pliers ready so assembly is fast.
- Protect your surface with a neutral linen and small stackable craft organizer trays for parts.
Make shrink plastic charms — a true one-afternoon win
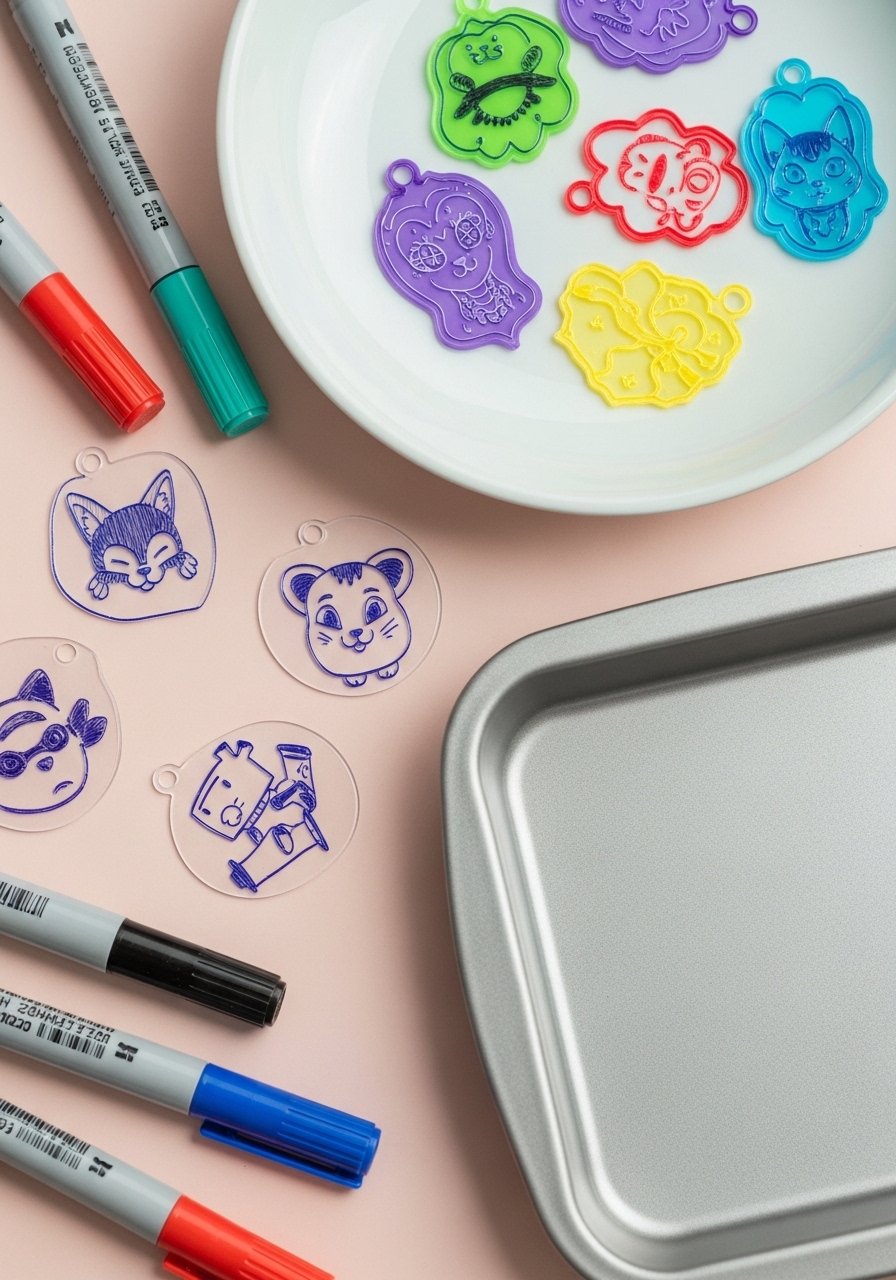
Shrink plastic is fast and beginner-friendly. Draw or print designs on specialty shrink sheets, cut to size, punch a hole before baking, and bake at 325°F (163°C) for 2–4 minutes—watch them flatten then curl and shrink, then lay flat until cool.
Steps:
- Draw on the rough side; color with alcohol inks or fine markers.
- Punch holes with a small hole punch sized for jump rings.
- Bake on a nonstick tray and press flat with parchment immediately after removing if needed.
A small heat gun speeds cleanup when shaping edges, and clear adhesive glue secures tiny embellishments.
Sculpt polymer clay for tactile, durable keychains
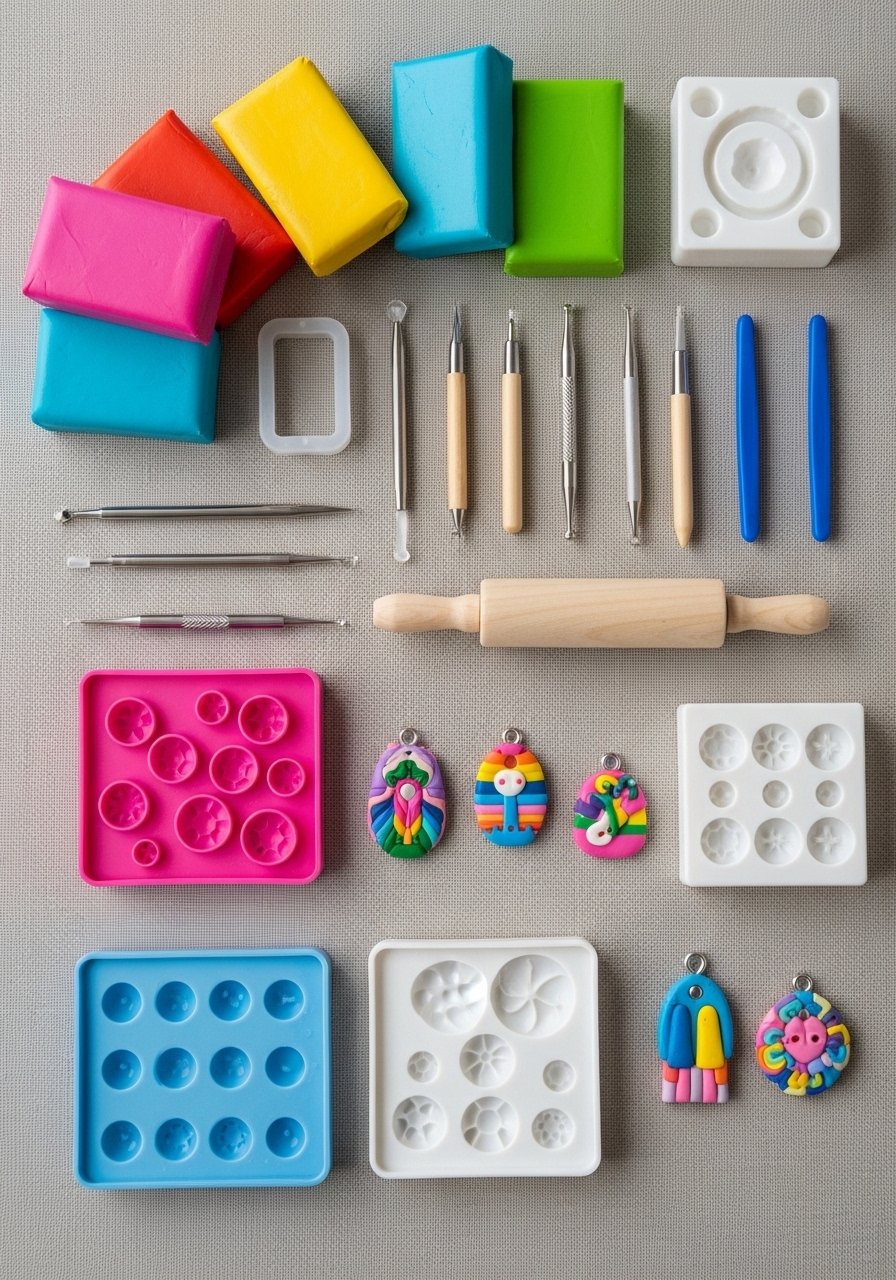
Polymer clay gives a hand-made feel and holds up well. Condition clay, shape charms to 1/4 inch thickness, add texture with stamps or silicone molds, then bake at 275°F (130°C) for 15–30 minutes depending on thickness.
Tips:
- Smooth seams with a tiny amount of isopropyl alcohol on a fingertip.
- Sand gently with a sandpaper set once cured for glassy edges.
- Use a precision craft knife for hole openings and to trim flash.
Attach findings with split ring pliers to prevent scratches, and store finished pieces in clear zip pouches for gifting.
Use resin and molds for glossy, layered keychains
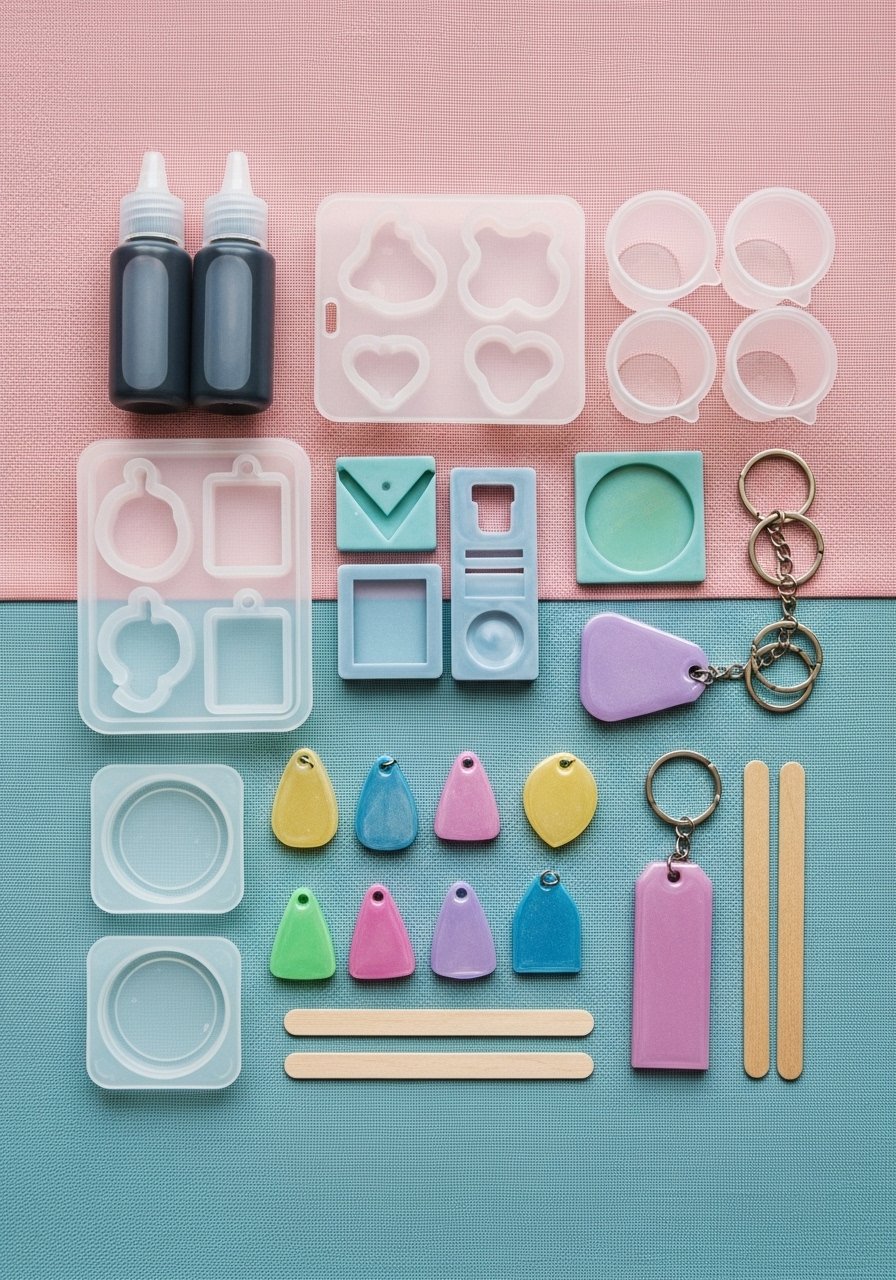
Resin yields professional-looking, durable keychains. Mix two-part epoxy and silicone molds, add tiny items (dried flowers, glitter), and pour. Expect no-touch time 6–12 hours, and full cure 24–72 hours depending on brand and thickness.
Pro tips:
- Measure resin by volume for correct ratios.
- Pop bubbles with a heat gun or a quick pass with a torch.
- Use small silicone molds sized for 1.5–2 in charms to keep weight down.
If a piece needs extra strength, sandwich a small metal eye pin in the uncured resin so the split ring has a secure anchor.
Packaging, gifting, and storage — pin-worthy presentation
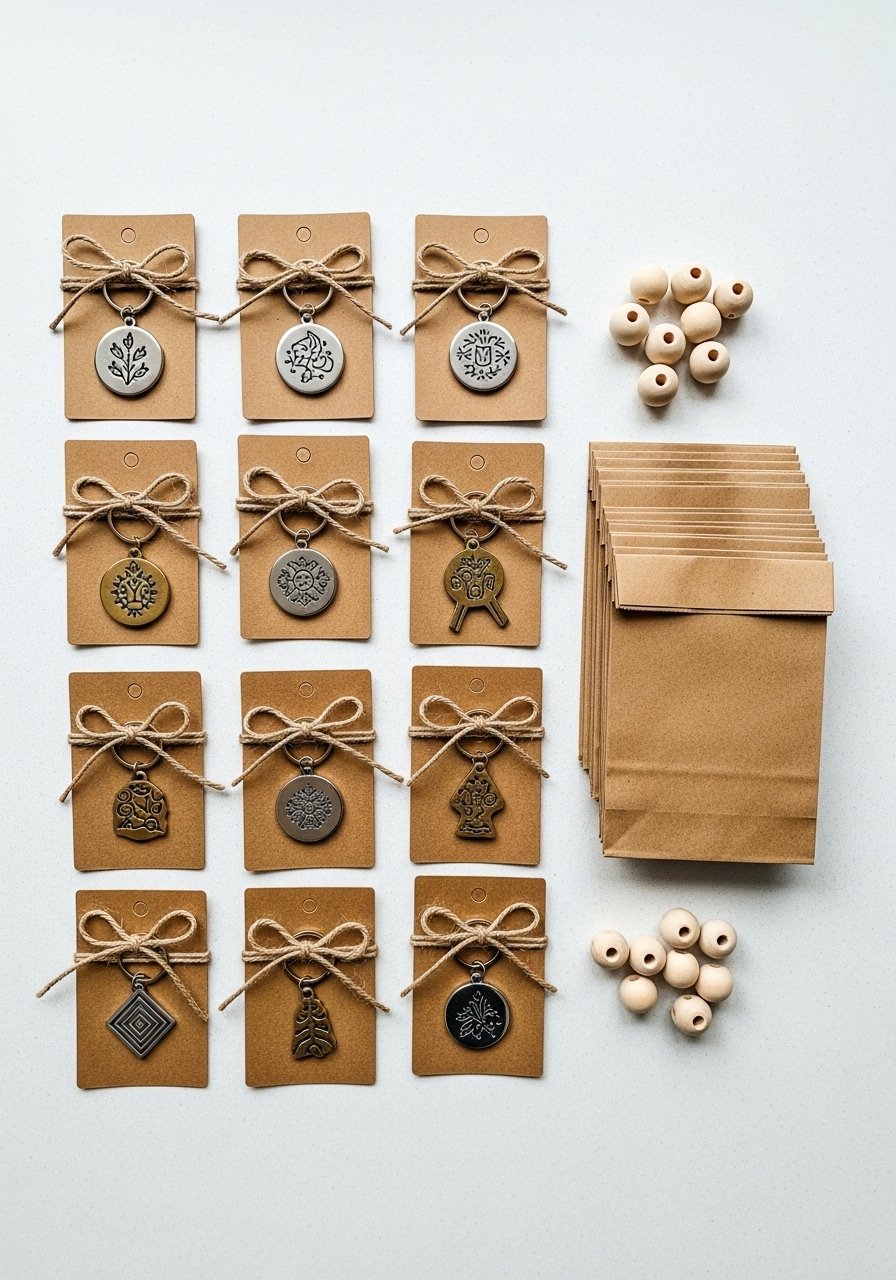
Wrap flat in kraft cards or a small kraft bag with tissue. For storage, use stackable craft organizer trays so you can batch-make and keep colors organized.
Quick batch tip:
- Make sets of 6–12 charms at once; baking or curing times are the same whether you make one or a dozen.
You’ve now got methods that fit any skill level and timeline—make a few to gift, sell, or pin for later.
Once you try these, you’ll see how a precision craft knife or a good self-healing cutting mat can change how fast and clean your DIY keychains come together. Pin this guide for your next craft afternoon and save this for gifting season—what style will you make first?


