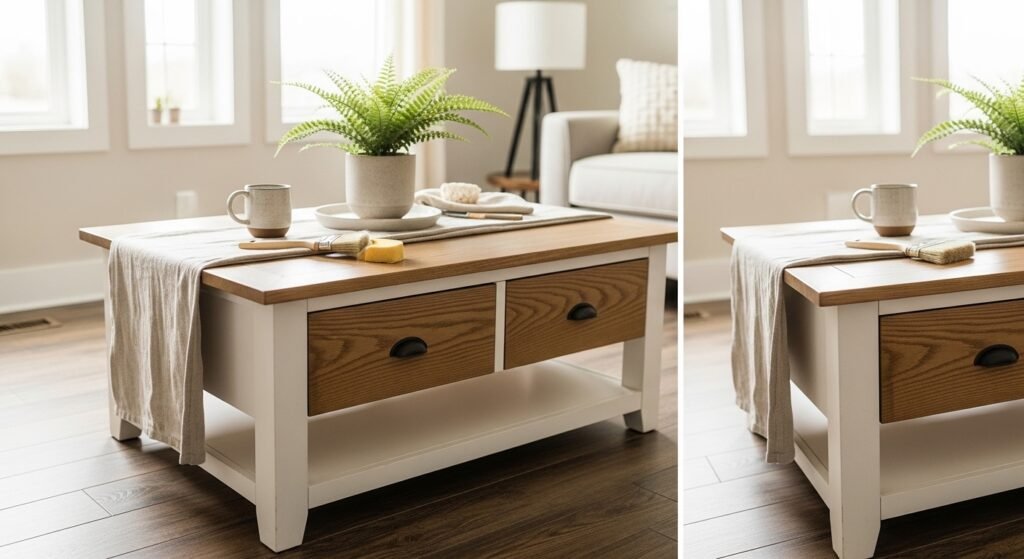
You brought home a thrifted or DIY coffee table that has great bones but a tired surface. If you want to refinish a DIY coffee table so it looks brand new without spending a fortune, this one-afternoon, beginner-friendly guide gets you there with simple steps and realistic timing. You’ll learn to strip or sand, fix dings, and refinish for a fresh finish that’s pin-worthy.
The secret tools that speed everything up are an orbital sander for fast, even sanding and low-tack painter’s tape for crisp edges. Both save time and reduce common mistakes.
Follow this plan to refinish a DIY coffee table: prep, sand and repair, pick a stain or paint, seal properly, and style. Expect 2–6 hours of active work and full cure in about a week for the sealer.
Gather and prep your workspace (easy, beginner-friendly)
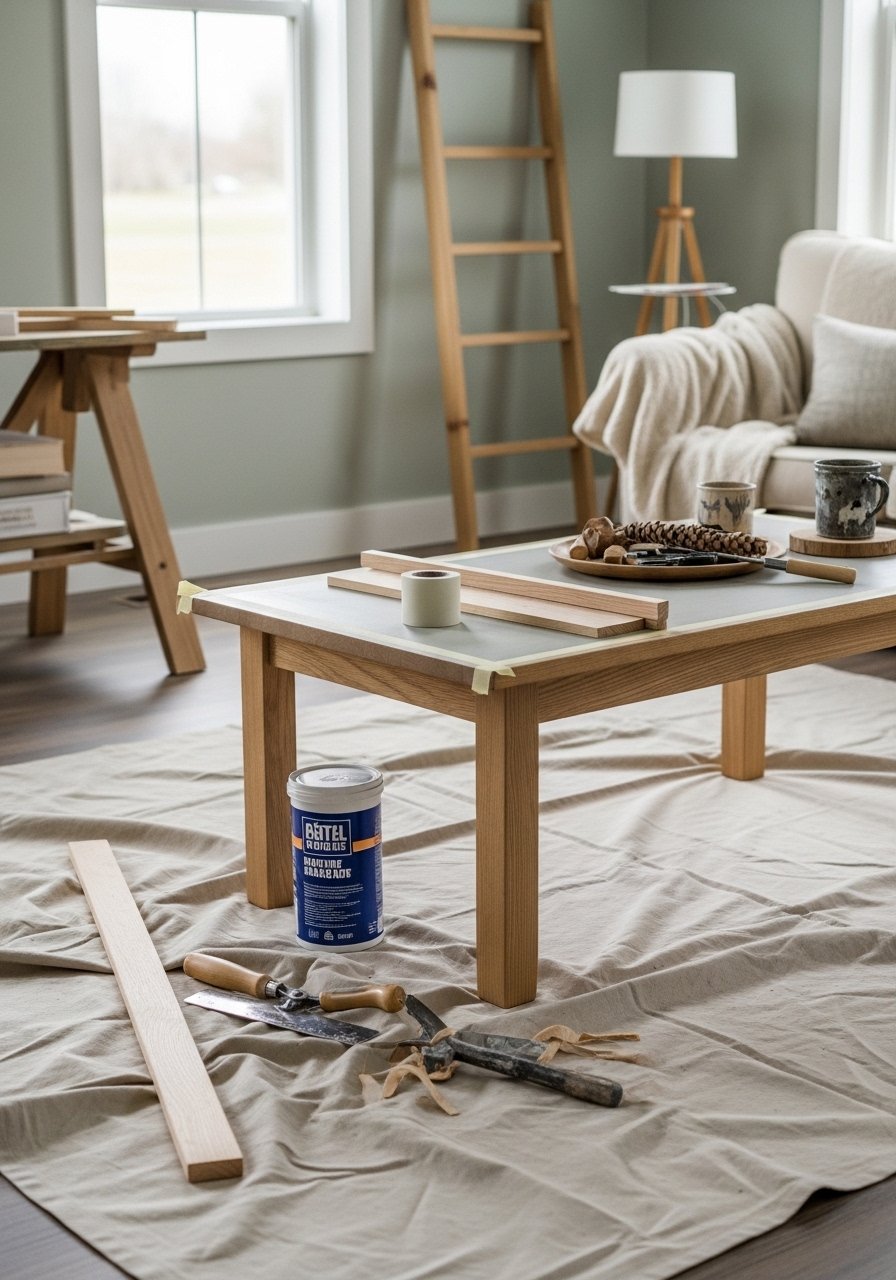
Clear a well-ventilated workspace and protect floors with a heavy canvas drop cloth. Remove hardware and wipe the table with a damp cloth. For deep gouges, spread a small amount of wood filler with a putty knife and let it dry: usually 30–60 minutes before sanding.
Quick tips:
- Label removed screws in a small bowl so nothing gets lost.
- Use painter’s tape to mask insets or legs if you only refinish the top.
Sand and repair the surface (the core technique)
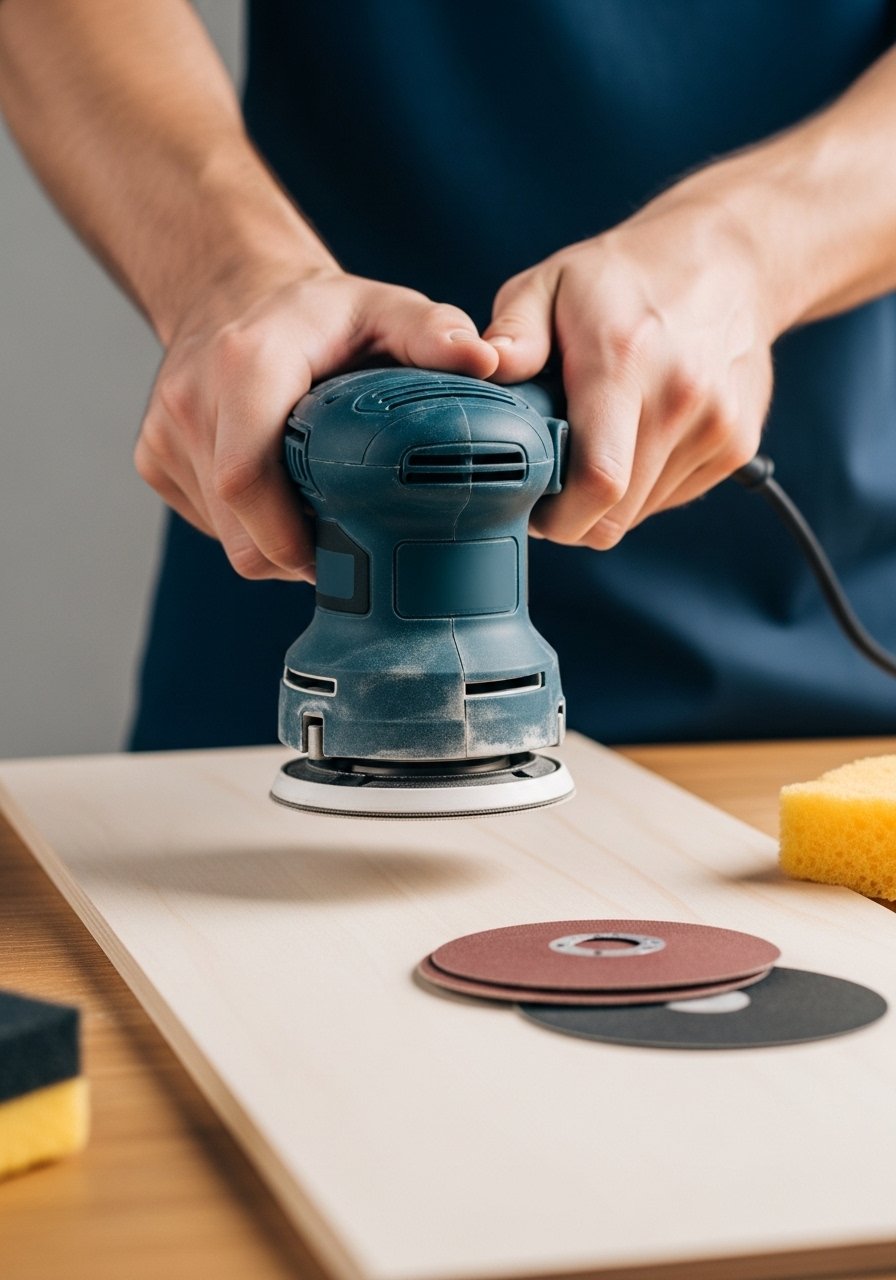
Start with coarse sanding, then move to fine: 80 grit → 120 grit → 220 grit. Use an orbital sander for the flat top and a sanding sponge for edges. Expect about 15–30 minutes active sanding for a standard 48"x24" table top.
Step-by-step:
- Sand with 80 grit to remove finish and level deep scratches.
- Follow with 120 grit to smooth out scratches.
- Finish with 220 grit for a silky surface before staining or painting.
Pro tips:
- Wipe dust with tack cloths between grits so you can see progress.
- Avoid over-sanding veneer edges—stop if you see layers lifting. Use a sanding block for controlled pressure.
Choose stain or paint and seal it right (one-afternoon finish)
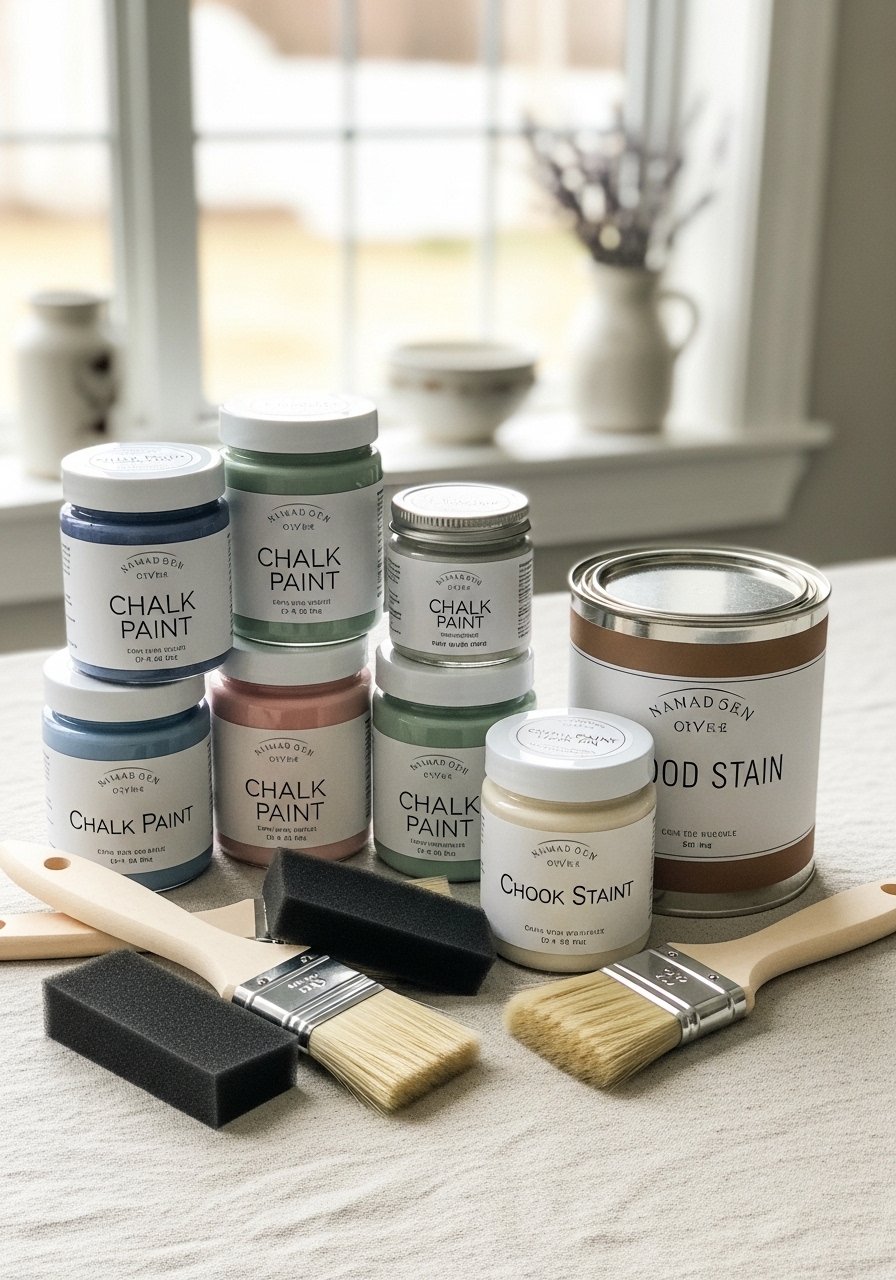
Decide your look: natural wood or painted. For wood tones, apply one or two thin coats of stain, wiping off excess. Let stain dry 6–8 hours between coats. For painted looks, chalk paint dries fast—typically 30–60 minutes between coats—and often needs only one or two coats.
Tools that help:
- Use a foam brush set for smooth, drip-free application.
- If you choose stain, pick a high-quality wood stain for even color.
Sealing:
- Topcoat with a water-based polyurethane for durability.
- Apply 2–3 thin coats, sanding lightly with 220 grit between coats. Dry time between coats: 2–4 hours; full cure: about 7 days.
Warnings:
- Apply finishes in thin layers to avoid runs.
- Work with the grain and keep brushes moving to prevent lap marks.
Finish, style, and care (display, gift, or store)
After the final coat cures, add furniture felt pads to the legs to protect floors. For a softer sheen, rub a small amount of furniture wax on painted surfaces—buff with a lint-free cloth.
Care tips:
- Use coasters to prevent rings.
- Recoat a thin top layer every 2–3 years for heavy-use tables.
- Store extra stain or paint in labeled jars if you plan matching projects.
You just learned how to refinish a DIY coffee table, from prep to the final seal. This plan keeps costs low, avoids common mistakes, and gives you a pin-worthy result in an afternoon of hands-on work (plus curing time). Save this guide, pin it for your next weekend, and tell a friend which finish you’ll try first — painted or natural wood? Ready to make it look brand new? Let’s go!


